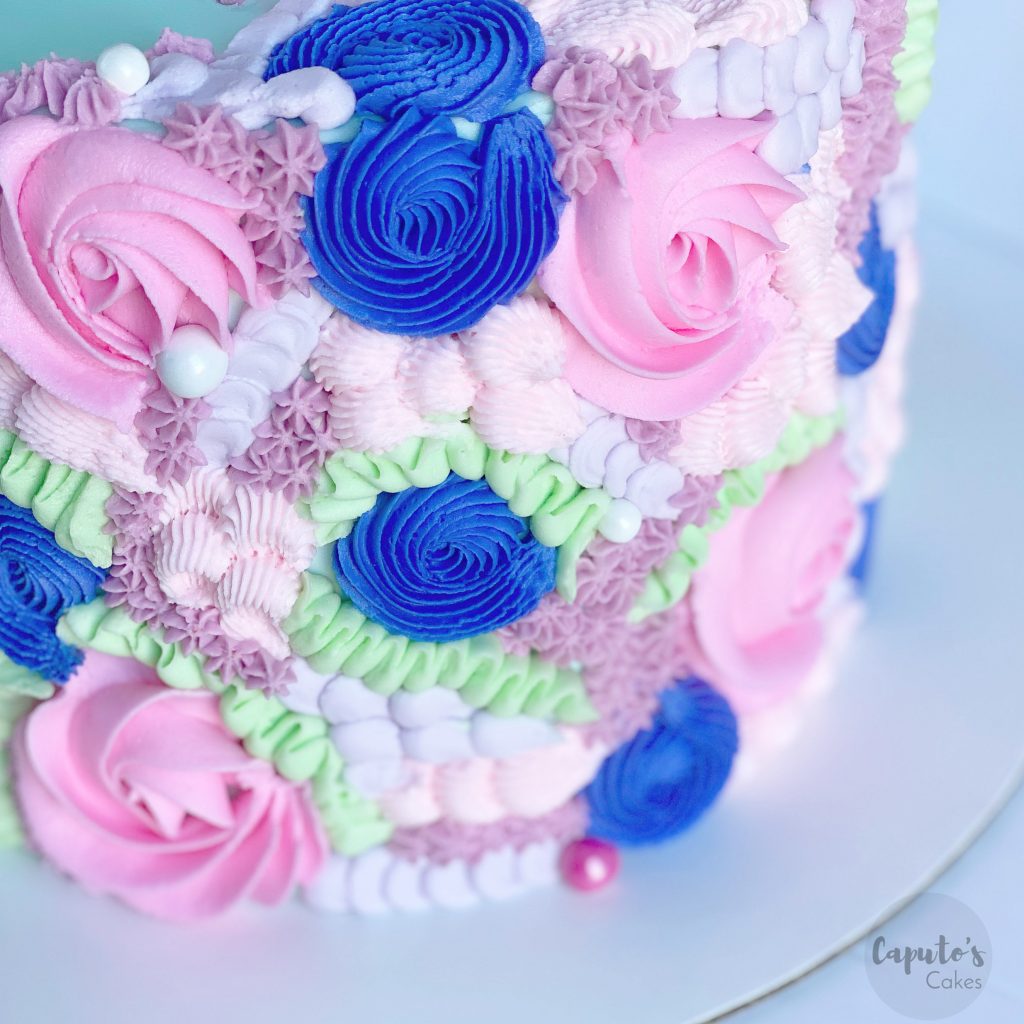
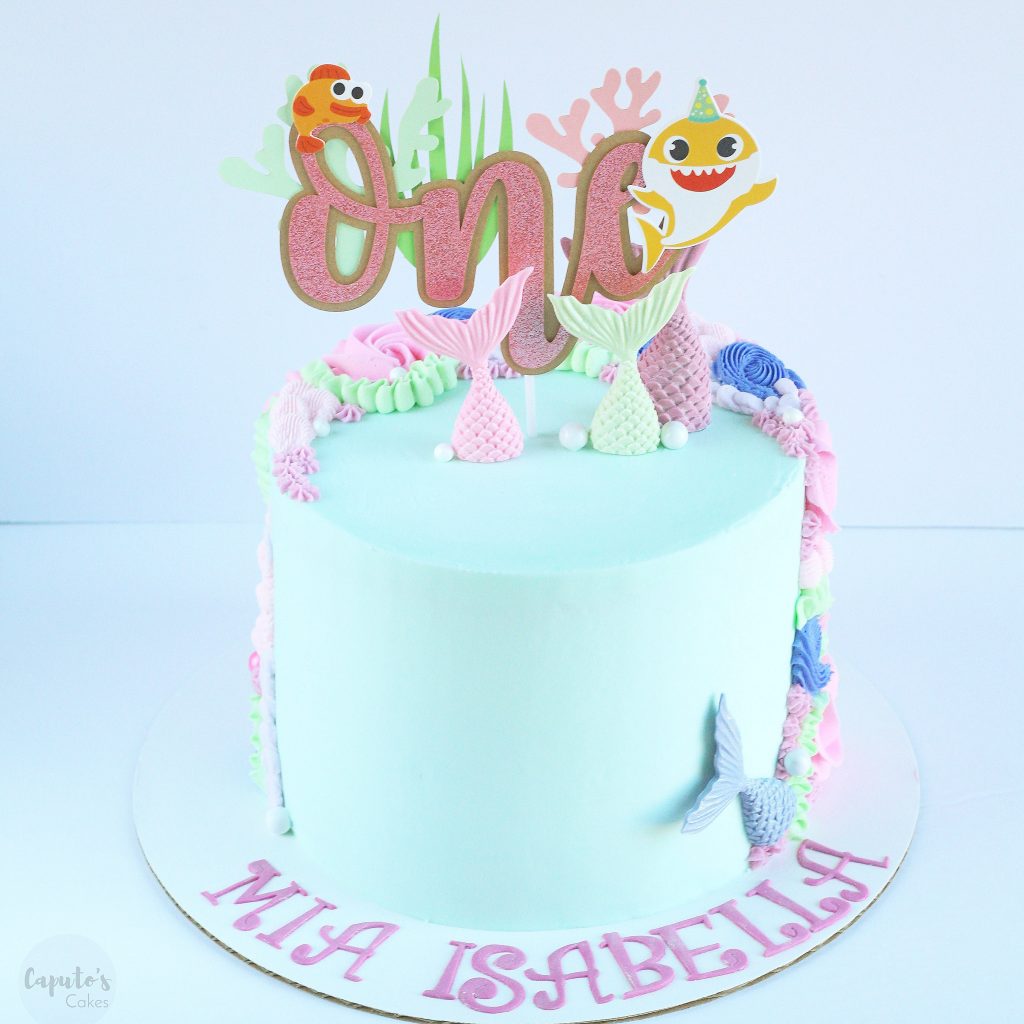
One of my favorite techniques when making cakes with buttercream, is to use a variety of piping tips. Because I love adding a lot of colors to my cakes, this is a great way for me to work with a color scheme, especially if I’m matching the cake to the party theme. Using multiple piping tips also adds texture to your cake, this helps accentuate different areas of the cake, and allows certain colors to really “pop.”
Recently, I made a darling ocean themed cake with buttercream frosting and 6 different Wilton piping tips. I used Wilton tip numbers: 1M, 32, 103, 8, 199 and 18. I’ll walk you through each piping tip I used below:
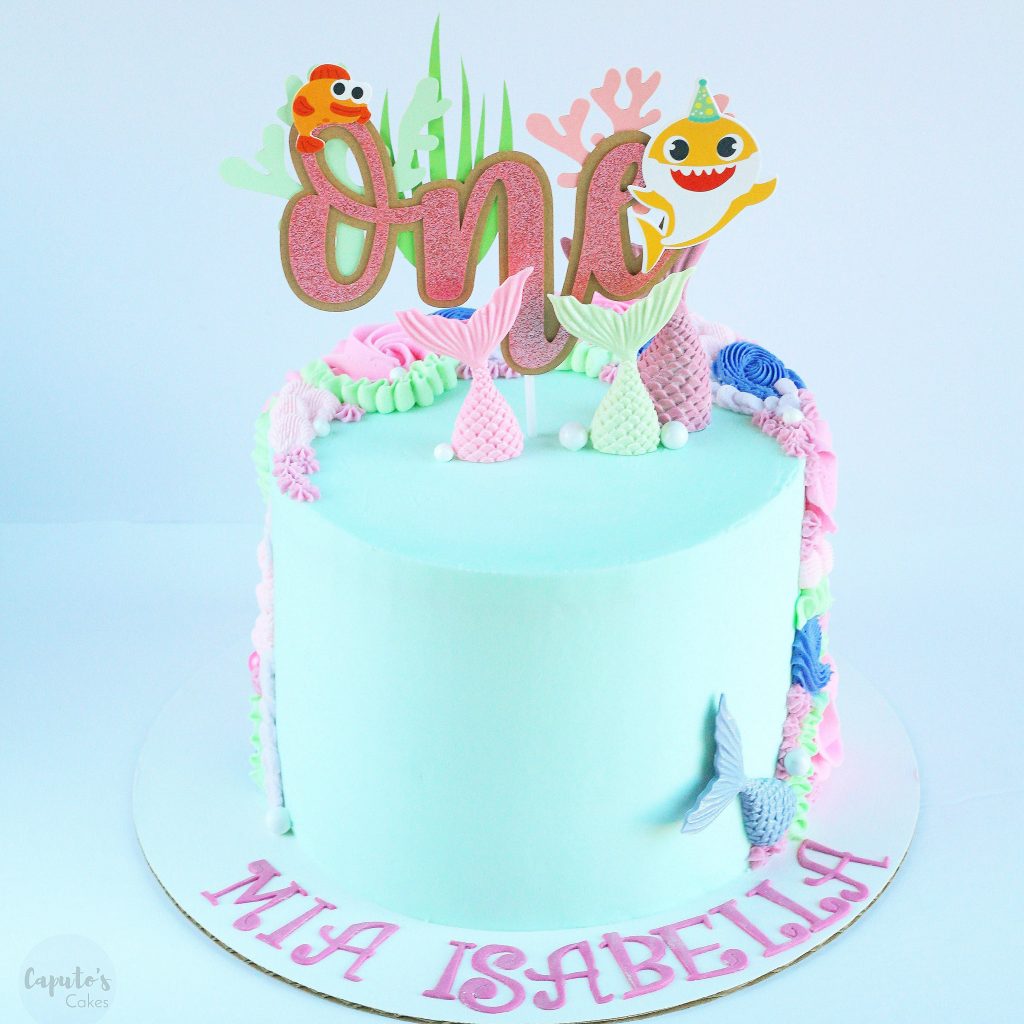
Decorating a cake with multiple piping tips:
To make this cake I first started with my base color, which was light blue. I smoothed out my outer layer of buttercream and chilled my cake for 20 minutes. After chilling, I decided the angle I wanted my piped design to fall and I used my icing scraper to mark my cake.
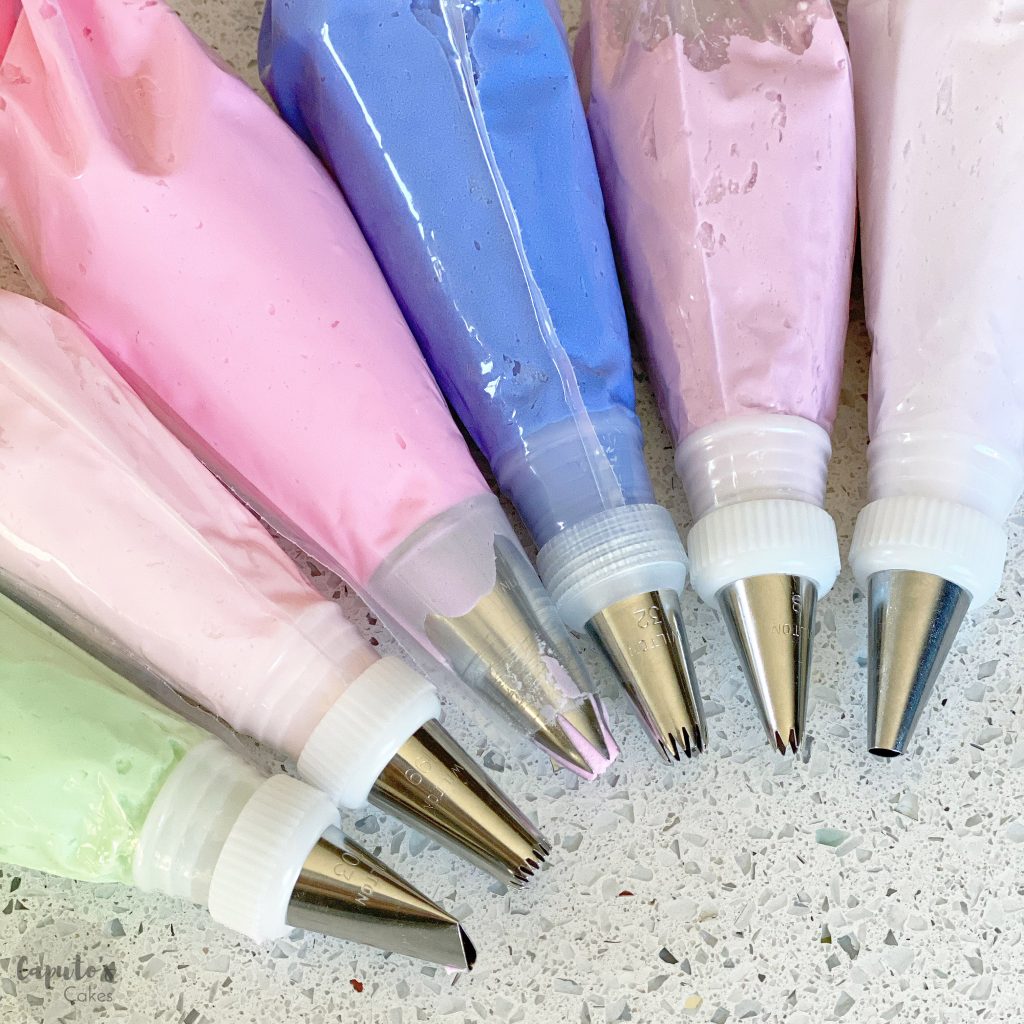
After my angle was marked, I wanted to start decorating my cake with the largest piping technique I would use. For this cake I knew I would make two different types of rosettes, using Wilton 1M and 32.
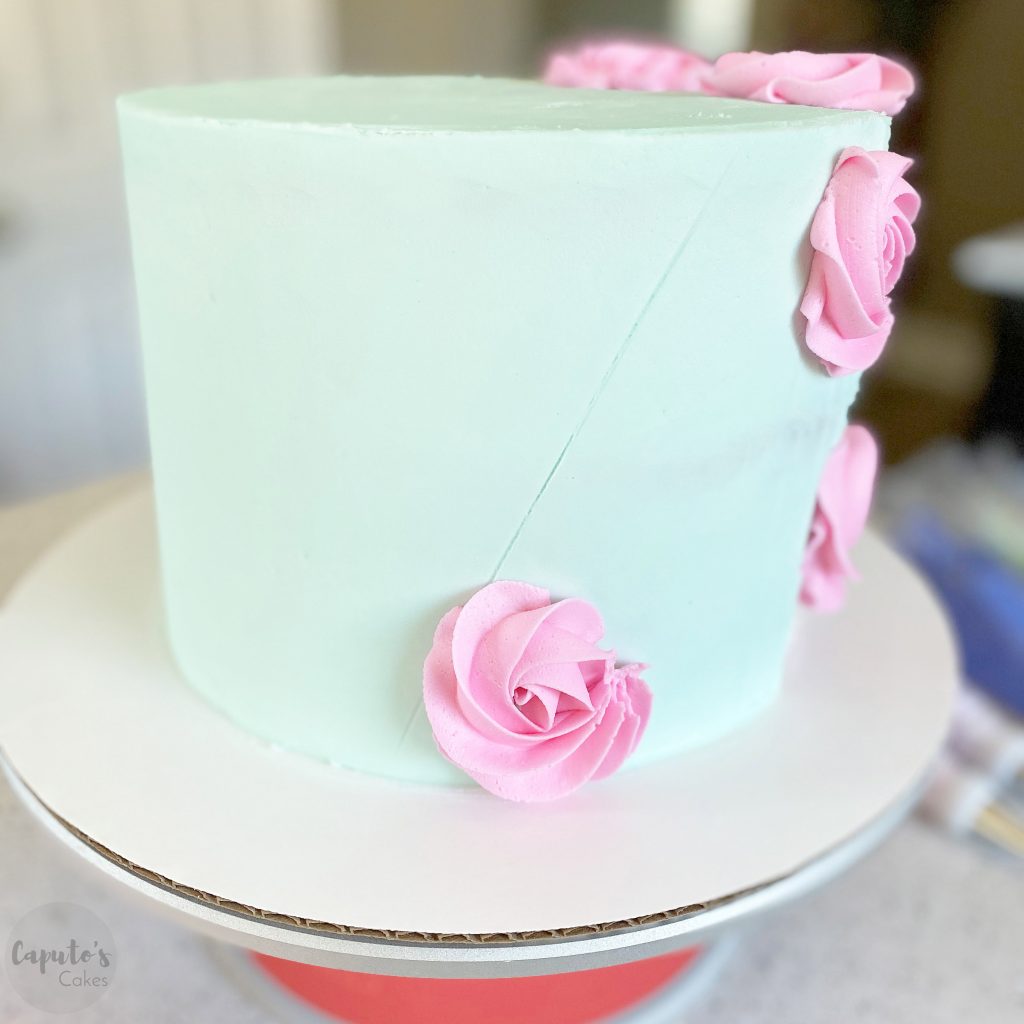
I took my 1M tip, and piped rosettes around my cake in different areas around the side and top of my cake.
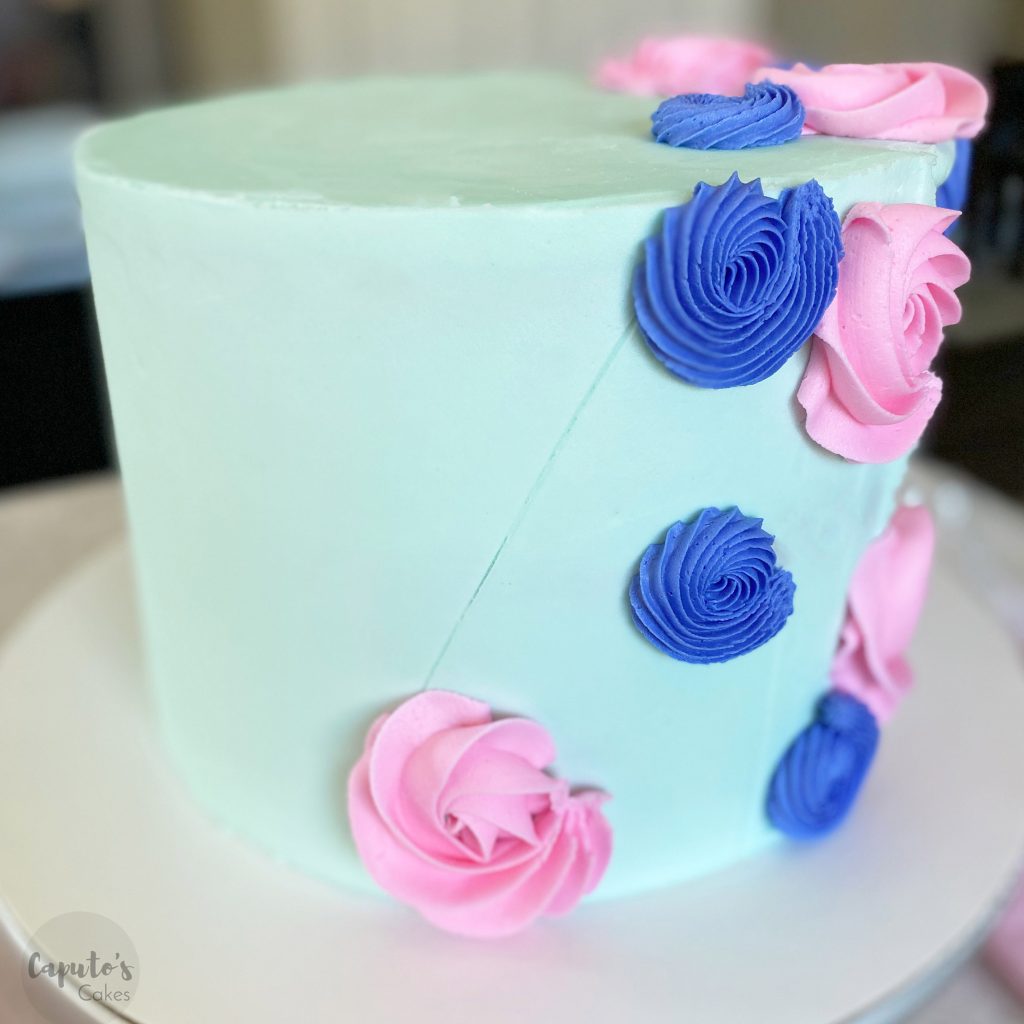
After that, I took my tip #32 and piped some more rosettes around my cake.
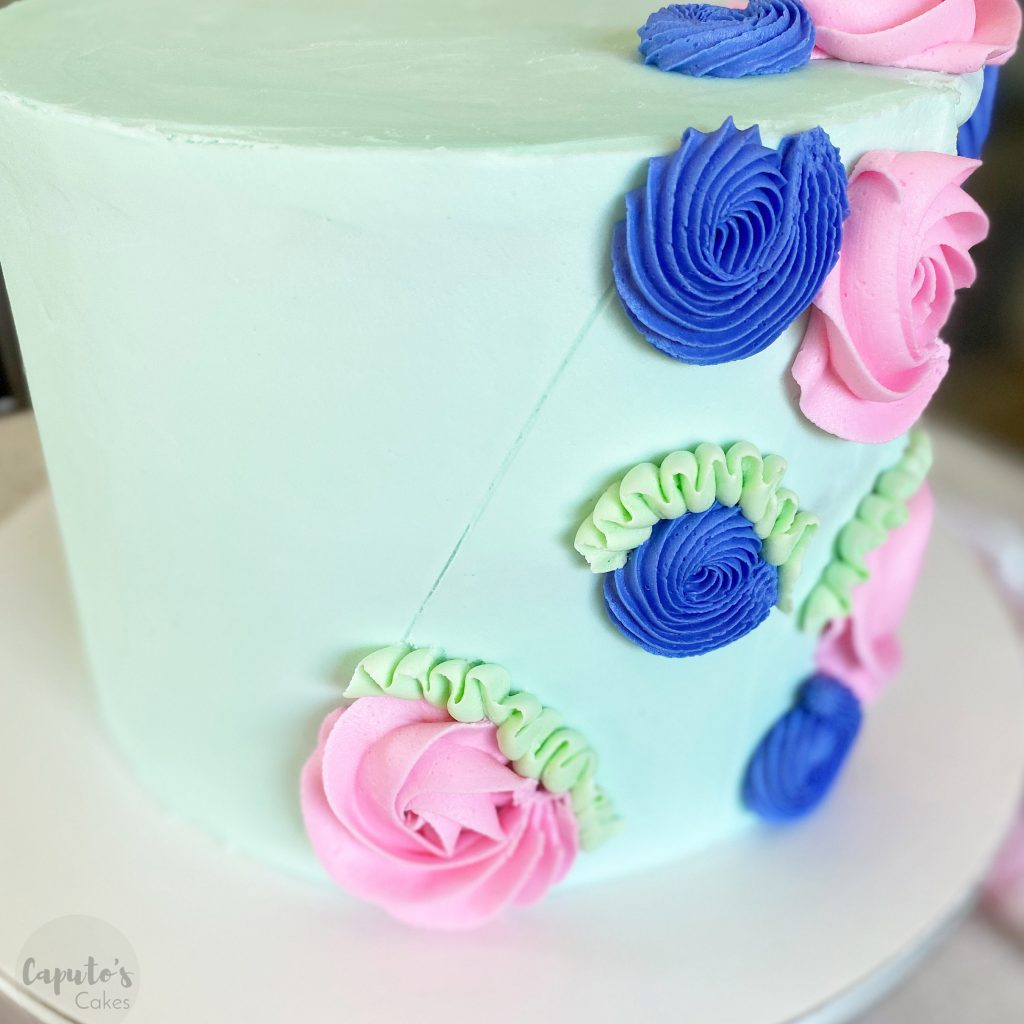
After my rosettes were piped, I wanted to use my tip #103 to add a ruffle around my rosettes. I find that I need a bit of room when using this tip, and if I had waited after I piped more designs it might have been difficult to get the exact ruffle I was looking for. I added my ruffles around rosettes, and as a border on the bottom and sides of the cake.
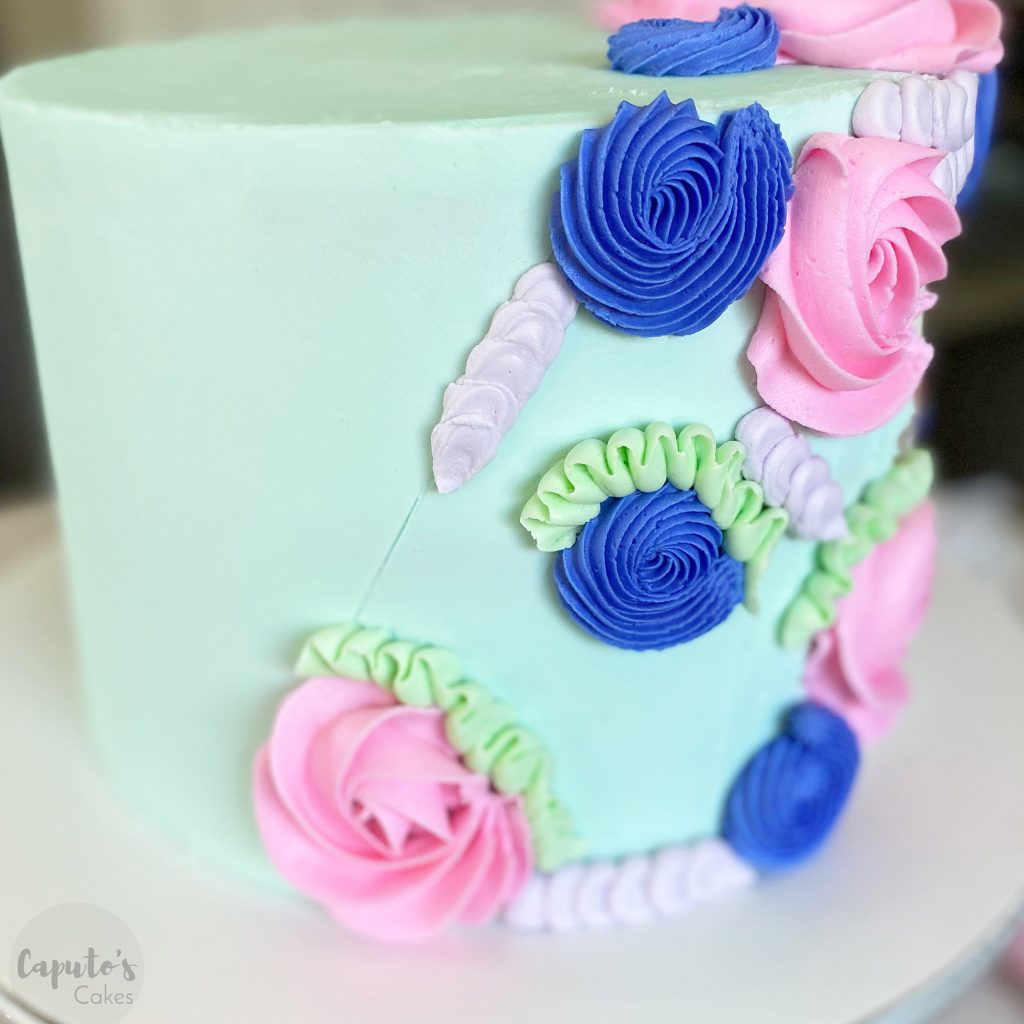
Next, I used my round tip, Wilton #8, to pipe a round border in different spots. I used it along the bottom, the angle mark, and filled in a few different spots.
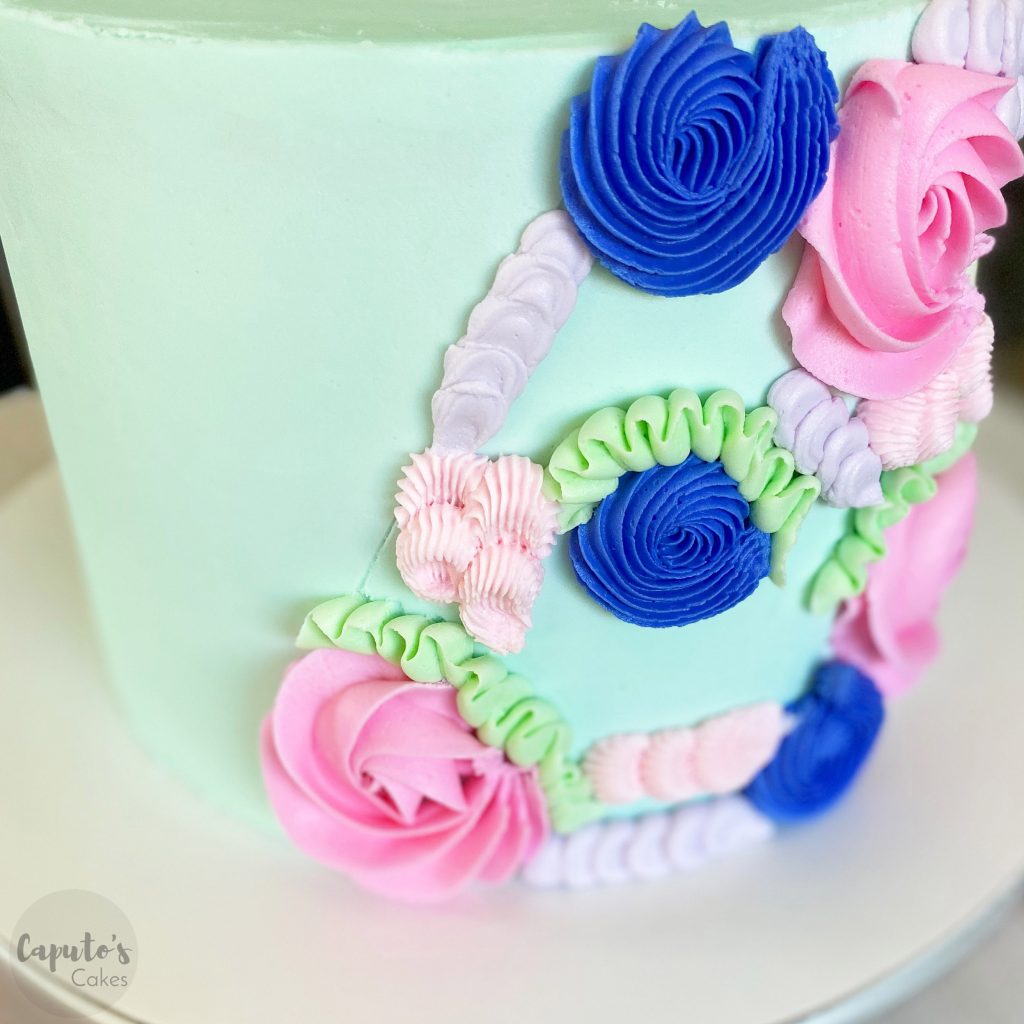
I use tip #199 (I LOVE the texture of this one), and piped shells around the cake. I used this tip next to last so that I can pipe it as a filler, and add the shells to larger open spaces on my cake.
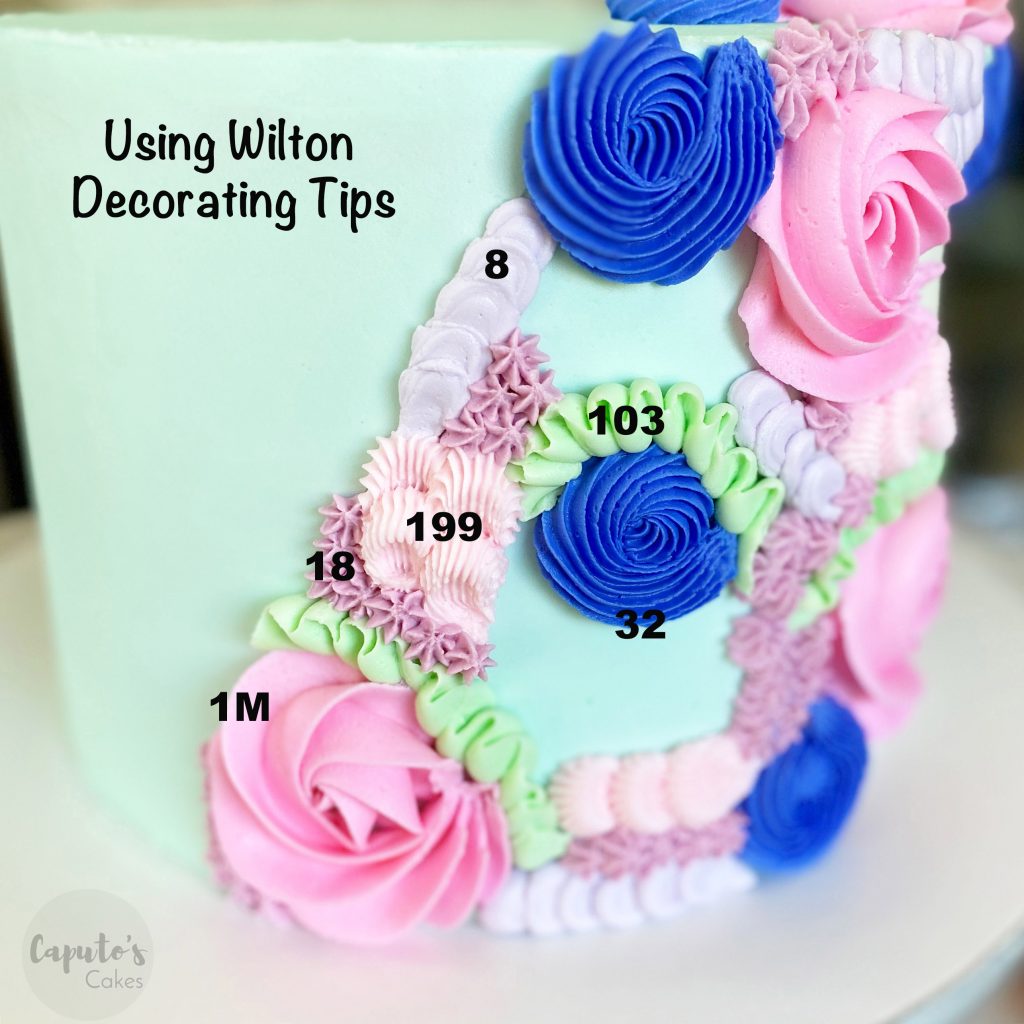
Lastly, I used tip #18 as another filler for all the small spaces on the cake. I do this every time I make this design. The star tip is small enough to fill in tight spaces, and is also perfect as a border and on top of the cake.
Once that was finished, I added a topper and some fondant mermaid tails brushed with silver luster dust and then cake was completed.
