I don’t often work with fondant. But I do love how fondant details can really add to the design of a cake. Fondant can add an extra element to the cake design by adding a pop of color, used as a topper, or as a focal point on a cake or cupcakes.
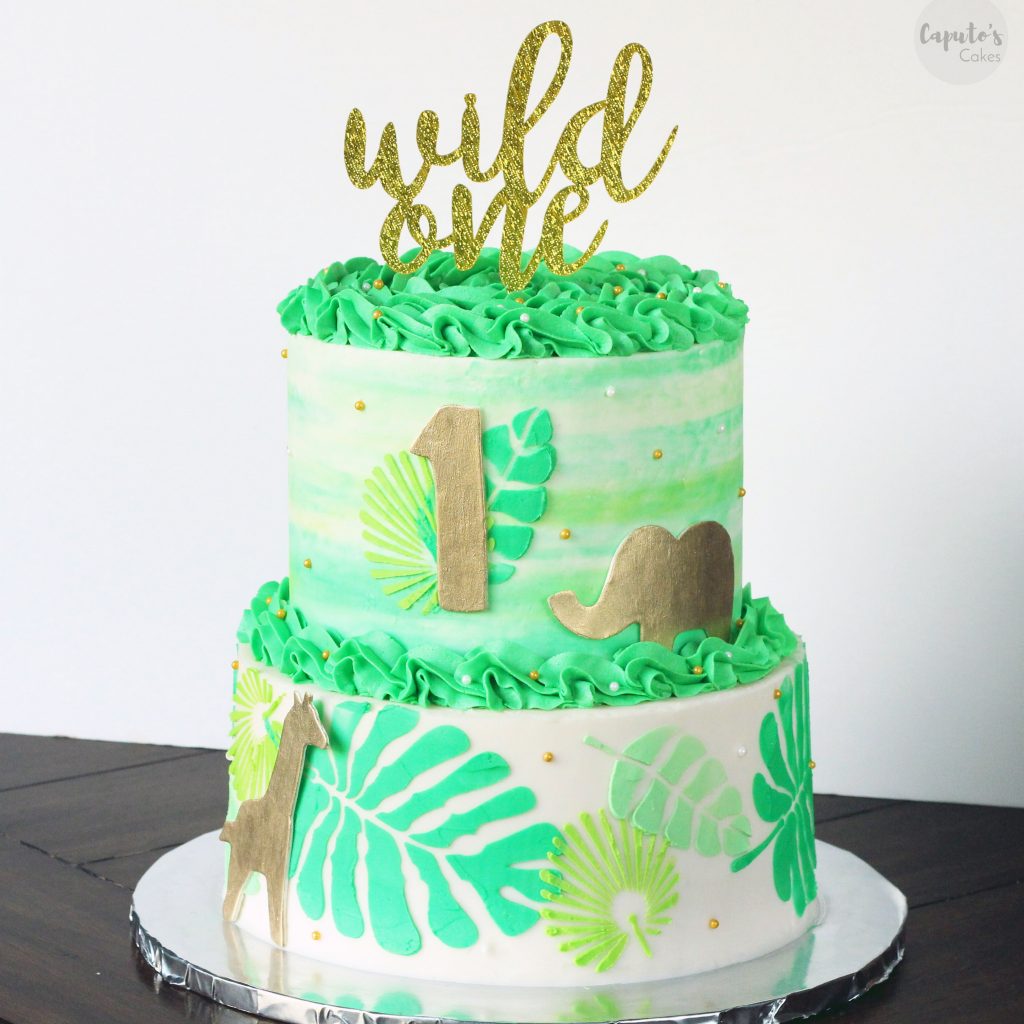
I’ve made a few fondant covered cakes in the past, and a few years ago I felt that in order to be a cake decorator, I needed to be well-rounded in both buttercream and fondant covered cakes.
When I started cake decorating, it stressed me out so much that I didn’t know how to use fondant. So I spent a few months researching everything I could about how to use it, the best tools to use, and how to achieve the smoothest fondant cakes.
I did all of this while also teaching myself how to use buttercream like a pro. I researched the best recipes, the best techniques and watched endless hours of YouTube videos while my babies napped.
Yes, it was exhausting, but cake decorating also thrilled me. I loved it.
Fast forward to today, and while I have come a long way, and mastered different techniques, I also learned that to be a great cake decorator, you certainly don’t have to know how to do EVERYTHING in the cake world. Theres always room for improvement and for expanding your knowledge, but you also don’t need to bend over backwards to learn it all.
Over the years, I have found my own style in the caking world, and it doesn’t usually involve very much fondant. I am now at a point where if someone were to ask me to make a fondant covered cake, I would simply say no, or suggest a buttercream covered cake instead. Fondant just isn’t my style, and that’s ok.
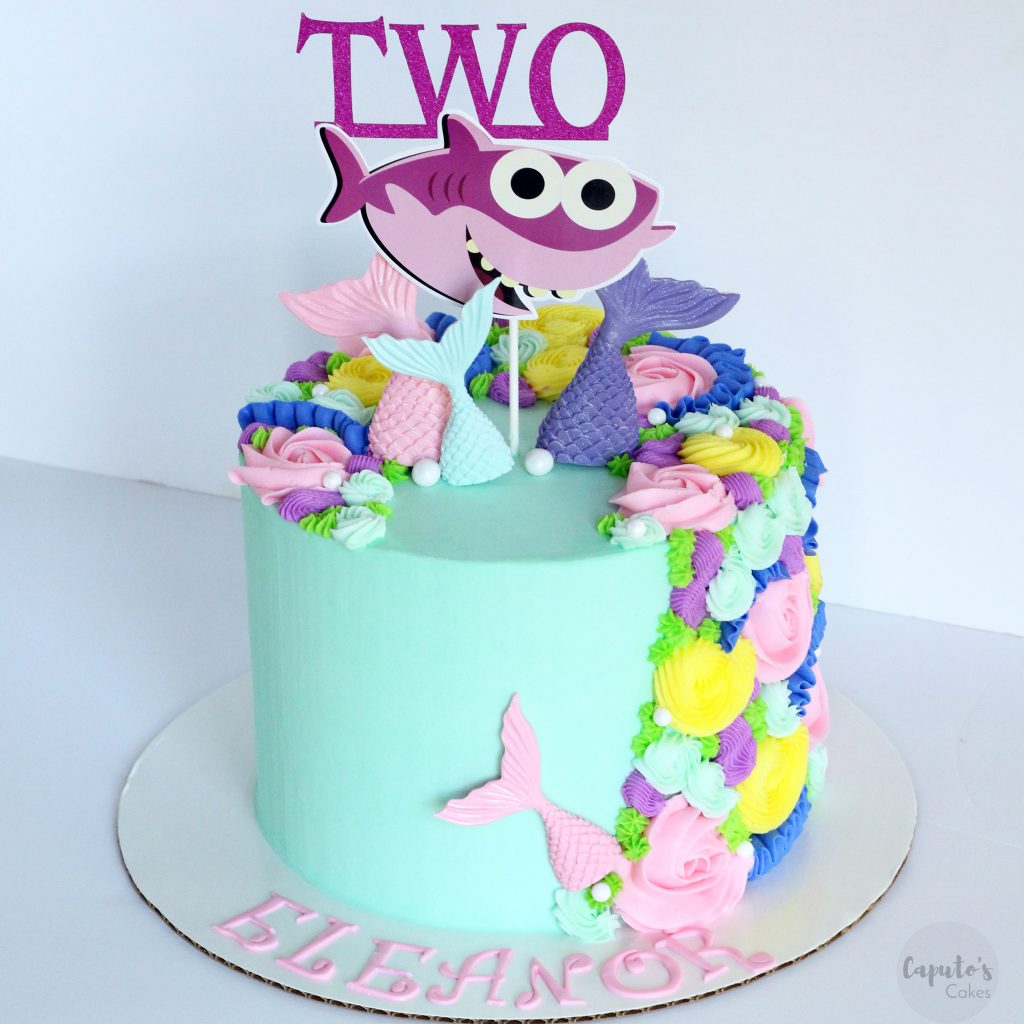
BUT, I still do occasionally use fondant. I recently used fondant to make some cute little donuts on this cake. I often use fondant to make little flowers, stars or heart details. I used fondant to make the fondant mermaid tails on this cake. And, I love using fondant and painting it gold or silver. There is so much that can be done with fondant.
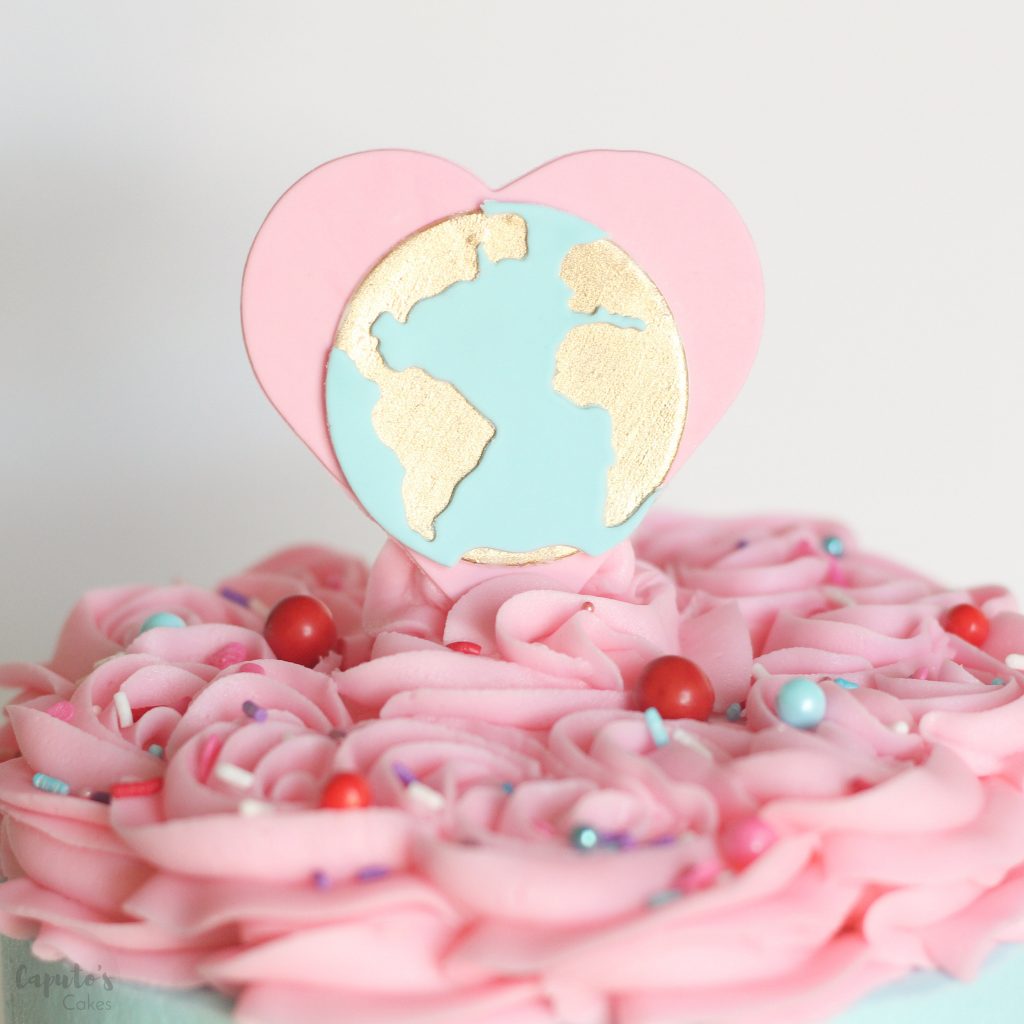
So if you’re not exactly a fondant lover, I’m hoping this post helps incourage you to give it a try.
And if you do feel inspired to work with fondant, keep reading below for some helpful notes to get you started with fondant.
Fondant necessities:
- Fondant (you can make your own, but I buy this kind)
- Fondant Tools: Roller, Cookie Cutters
- Crisco
- Corn Starch
- Gel food color
Some helpful notes when making fondant details:
I always use both Crisco and corn starch when working with fondant. The Crisco will help keep the fondant from drying out, while the corn starch will help keep the fondant from sticking to surfaces, and can actually help the fondant to dry out.
When fondant gets any air in it, it will dry out. Be sure to store it correctly. I always store any used fondant (especially if I colored it) by double wrapping it tightly in saran wrap, and then placing it in a plastic baggie and inside an air tight container. Believe me, after you’ve spent forever getting your fondant to the right color, the last thing you want is for it to dry out.
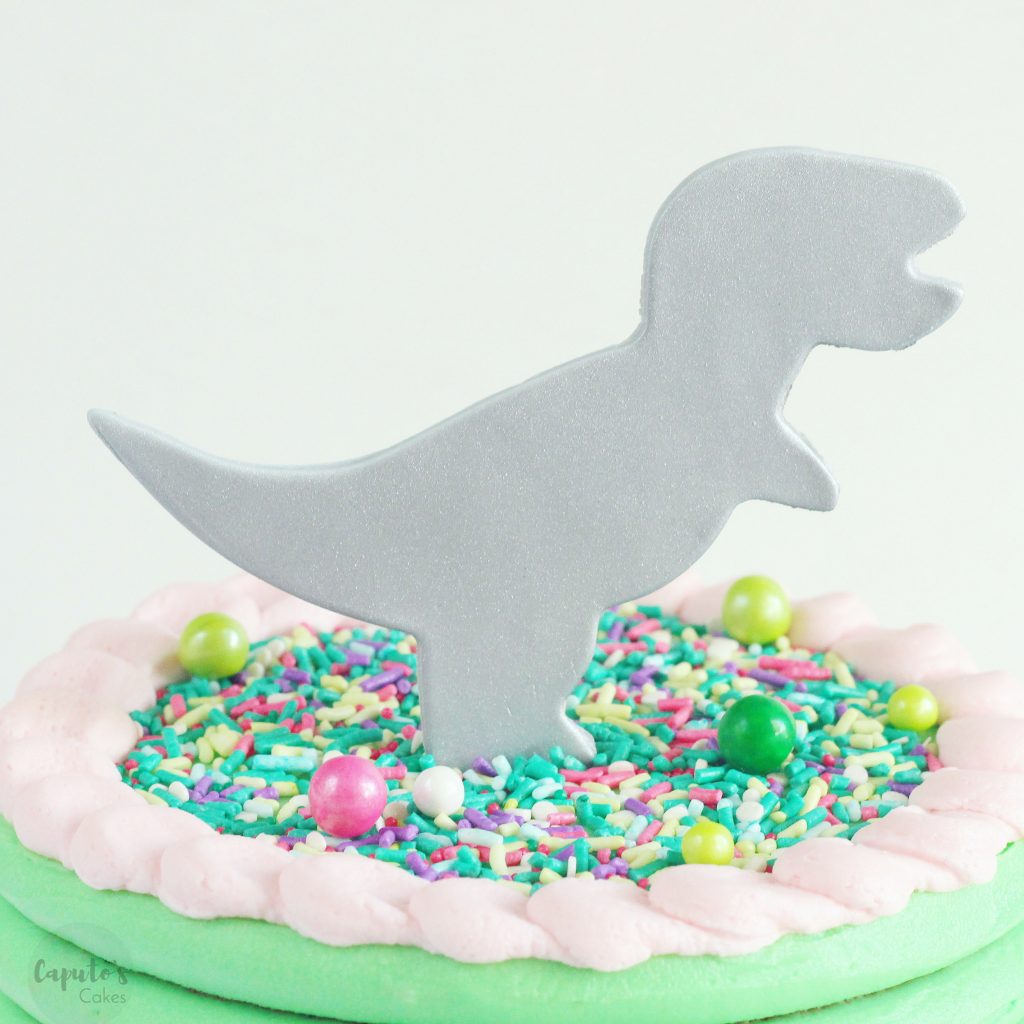
When making any fondant details, give yourself plenty of time! I always, always, always, make my fondant days, even a week ahead of when it is needed for a cake. Fondant details take a while to dry out. And if you’re painting it with any luster dust, like this dinosaur, you will want to allow the fondant to completely dry out.
After making my fondant details I like to dust a flat surface with corn starch and lay my fondant on top of that to dry. Sometimes, when I need my fondant to dry quickly, I will put my fondant details (on a flat surface, like a cookie sheet) in the oven. Make sure the oven is turned off, but leave the light ON, and leave the fondant over night. This works great with making things like fondant mermaid tails.
I will be sharing some more fondant info in the next few months, but for more cake decorating tips, visit my blog HERE.
