Today I want to chat about the importance of adding a crumb coat to a cake. Years ago, when I made my very first cakes, I didn’t realize how important a crumb coat was. I spent so much time baking a cake and making the buttercream, I was so excited to finally get to the fun part… decorating the cake. I dipped my spatula into my bowl of buttercream and started spreading the icing all over the cake. When I took a step back to peak at my work of art, I realized there were cake crumbs in my frosting.
Now, having crumbs in your frosting is fine… if it’s the comb coat, but when its your final coat, it can be quite the disaster. And believe me, those pesky crumbs will not come out.
lets talk about the first step in decorating your cake…. the crumb coat.
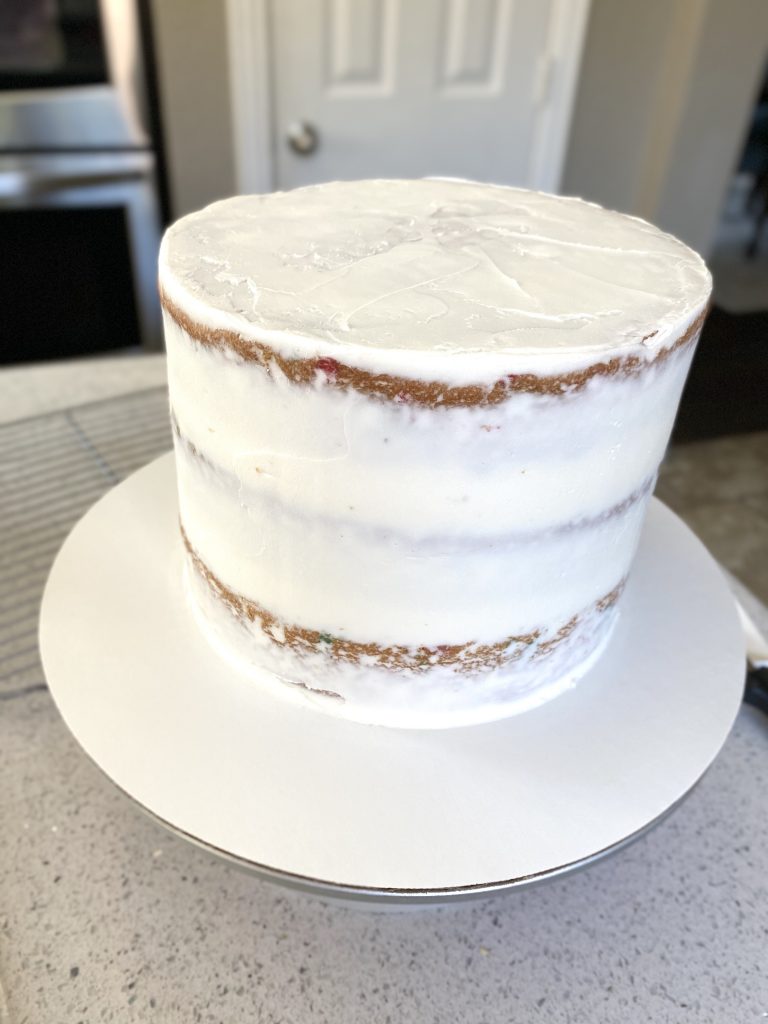
What is the crumb coat? Well, very simply, it’s a thin layer of icing used to contain all of the crumbs on your cake and keeps them from getting everywhere! You don’t want to skip this step, because if you get any crumbs in your final coat of buttercream it’s nearly impossible to get them out.

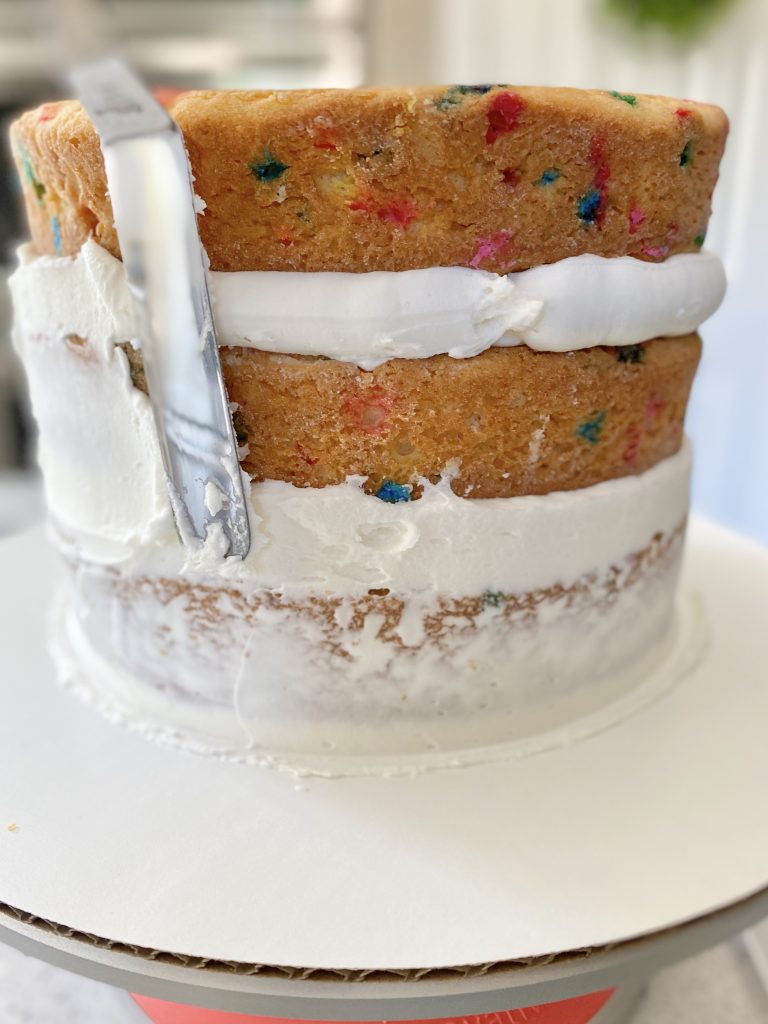
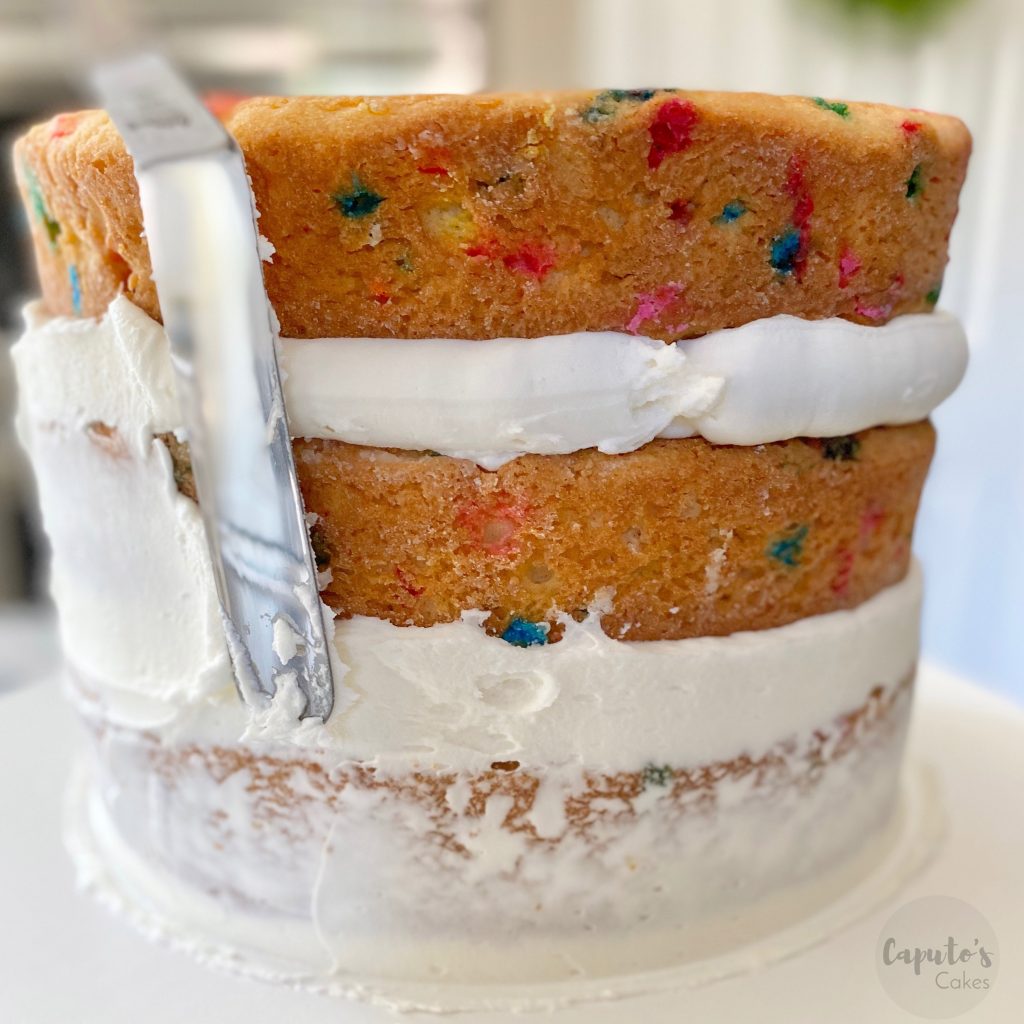
How to apply the crumb coat: Using your offset spatula, spread a thin layer of your buttercream frosting (click HERE for my recipe) over the entire cooled cake layer. If you cut your cake to level it, you will definitely get crumbs on your spatula… so, be sure the spatula is clean every time you dip it back into your bowl, otherwise you might end up getting crumbs in your buttercream bowl too. The crumb coat should be thin enough to see the cake layer through it, and don’t worry too much about any extra crumbs on the outside, they won’t get into your final buttercream layer. Smooth out your thin layer and you’re done!

I like to put my cake in the fridge for about 30 minutes or 15 minutes in the freezer. The cold will cause your butter to crust over. If you lightly touch your cake the buttercream should feel dry and cold. Once this happens you are ready for the next step and the most fun part… decorating your cake!


