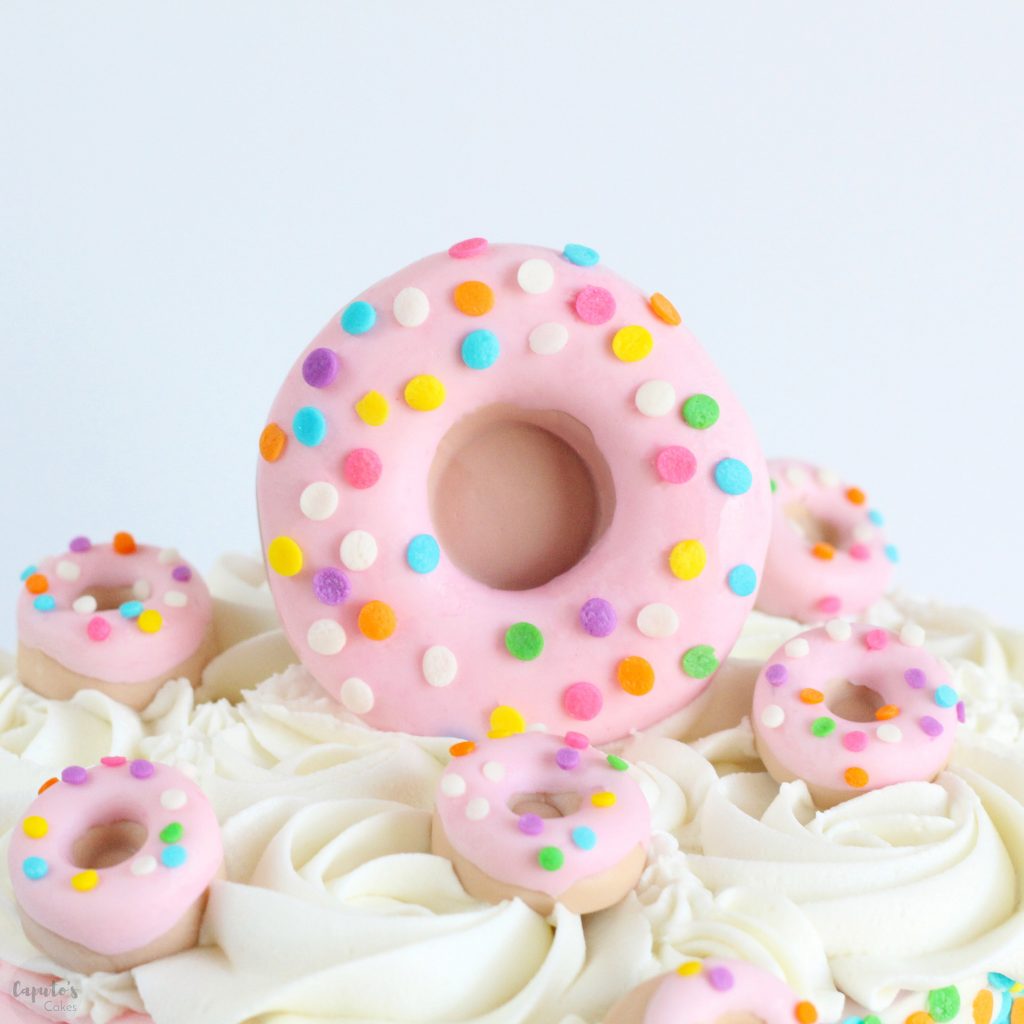
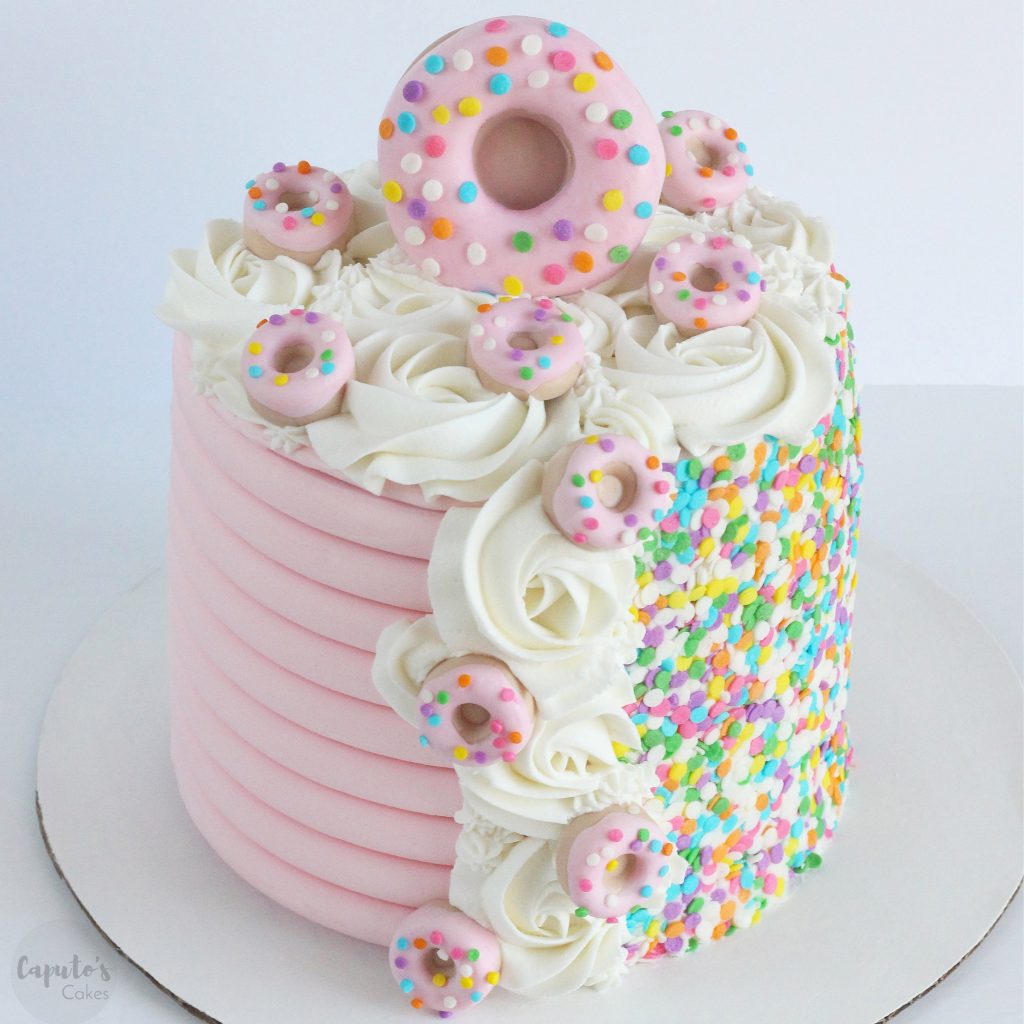
Recently, I made some fun fondant donuts on a double-sided donut cake. I posted some pictures of the cake over on my instagram, and thought it would be great to share what I used and how I made them.
I don’t use fondant very often, but when I started working with fondant a few years ago, it took me a lot of time to research and lean how to work with it and what the best tools were.
For some bakers, fondant can be a little frustrating, while other bakers love it and often cover their cakes with it. I’ve covered a few cakes in fondant, and I’ve made my fair share of cake decorations in fondant.
However, for me, I’ve learned that I love buttercream, and all the techniques and designs I can make with buttercream, but that doesn’t mean fondant isn’t needed.
Sometimes, just a touch of some fondant details are needed, and can really help the design of a cake.
I made this double-sided cake, and I knew I could either top the cake with baked donuts, dipped in frosting and sprinkles, or I could easily make them with fondant. I wanted the donuts to be the main focal point of the cake, so I decided that fondant would work best for what I was envisioning.
Tools needed for making fondant donuts:
- –Mini donut silicone mold , use code Suzanne10 for 10% off
- –Medium size donut silicone mold , use code: Suzanne10 for 10% off
- –Satin Ice Vanilla Fondant
- -Sprinkles (large confetti, small confetti)
- -Pink gel food coloring
- -Tan gel food coloring
- -Crisco
- -Corn starrch
How to make fondant donuts using a silicone mold:
Step 1: Using your pink and tan food coloring, color portions of your fondant. I like to add a little bit of Crisco to my fondant when adding color to it. I have found that adding the Crisco will help the fondant from sticking to my hands when coloring it.
Step 2: Cover the silicone mold in a little bit of Crisco or sprinkled with a little corn starch. This helps keep the fondant from sticking to the mold.
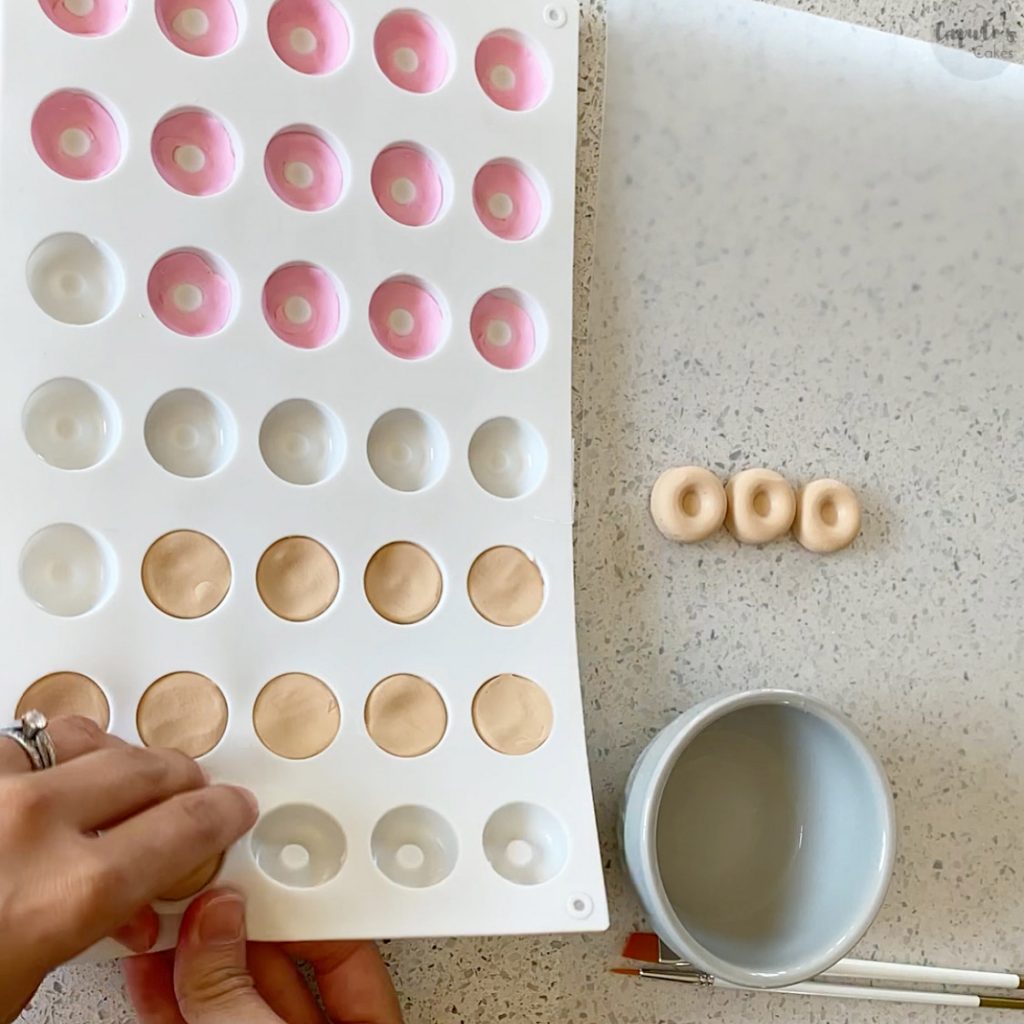
Using the mini silicone donut mold, you will want to first start with the tan fondant. Measure out the tan fondant and split it up into little balls. Roll the balls so they are nice and smooth without any cracks. Add 1 fondant ball to each donut cavity and firmly press down. The fondant should cover the whole cavity and lay flush with the top of the silicone mold. You can smooth that area out and remove any excess fondant.
I did the same thing for the larger donut silicone mold. Making a larger tan ball with my fondant, and pressing it into the mold.
Step 3: Taking the pink fondant, again, roll some fondant balls for the silicone don’t mold. The pink fondant will be your “icing”, so you don’t need to use as much as you did with the tan color. After you roll smaller balls of pink fondant, press down to flatten them out with the palm of your hand.
Take each flattened piece, and press it into the silicone mold cavity. Continue pressing the pink fondant into the donut mold, and while you do this, the center of the “donut” should start to uncover. Essentially, you will want the pink fondant to become a flat circle on top of the donut, with the center cut out.
Repeat this step for the larger silicone donut mold.
Step 4: Place the donut silicone mold into the freezer on a flat surface. Allow the fondant to chill for about 1 hour. This helps the donuts keep their form when you begin taking them out of the mold.
Step 5: Once the fondant is chilled, and working quickly, pop each donut out of the silicone cavity. I like to place them on a flat surface dusted with corn starch so they can harden without sticking to the surface.
Quickly, pop the pink “icing” out of the silicone mold. I topped each donut with the icing as soon as I took it out of the mold. Because my donuts had some Crisco on them, the donut and icing would stick together as they dried. If you need to adhere your icing to your donut, you can add a tiny bit of water to the top of your donut before laying down the pink “icing”.
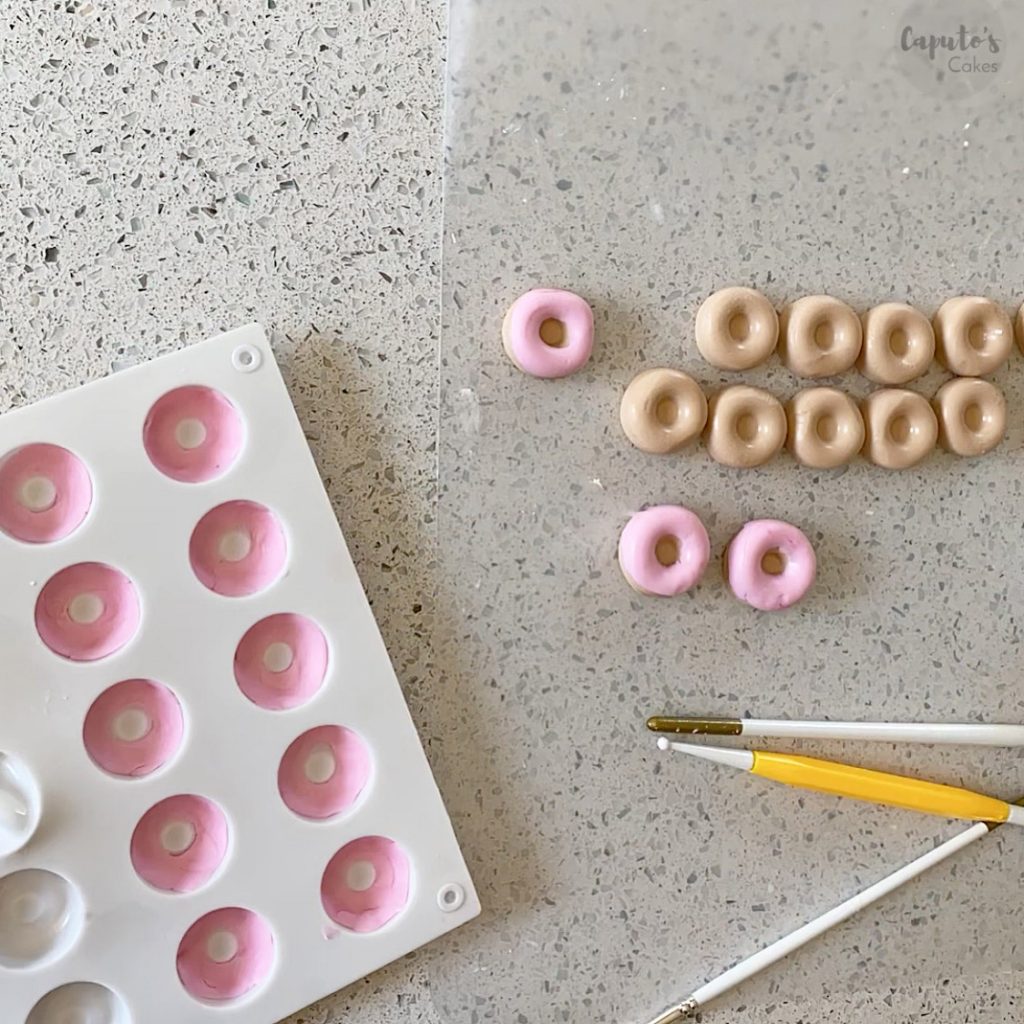
Step 6: Allow the fondant donuts to dry for 1-2 days. Keep them on a flat surface and away from anywhere they could easily be bumped.
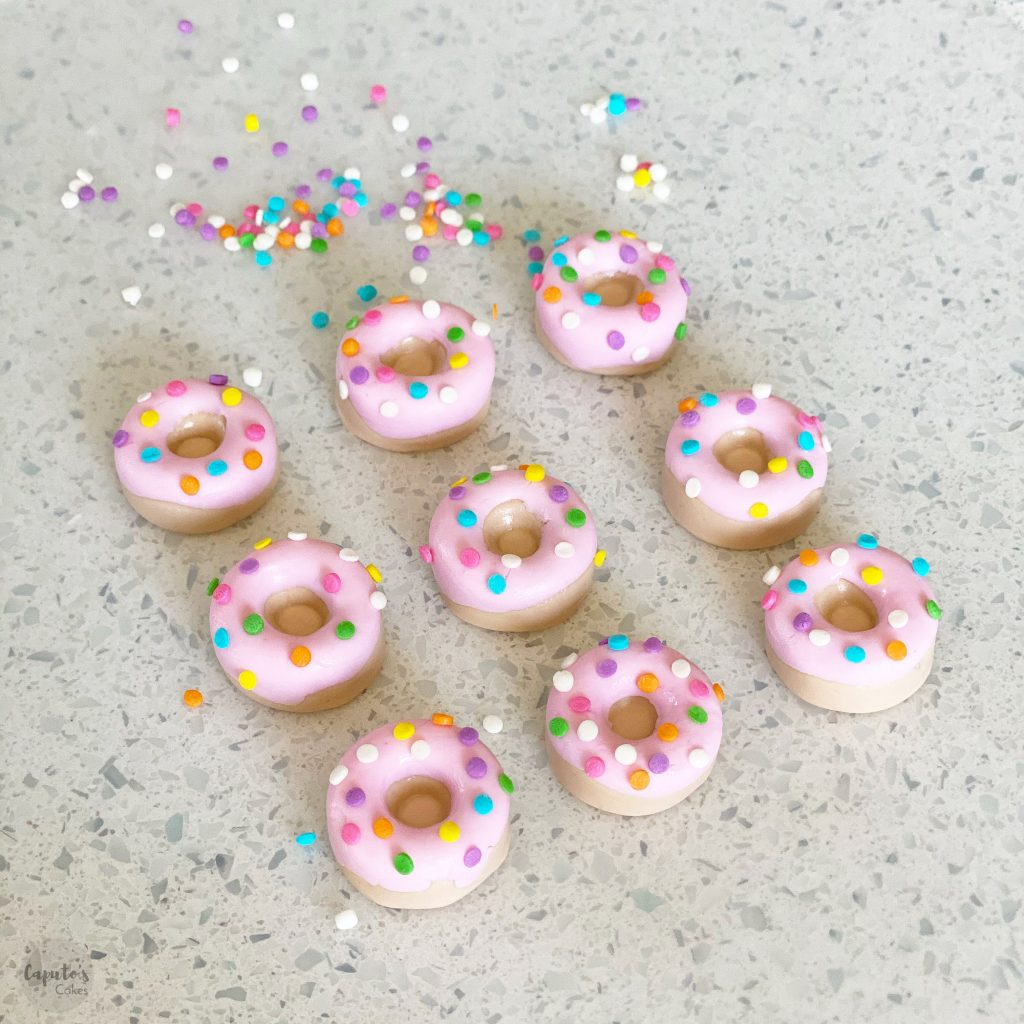
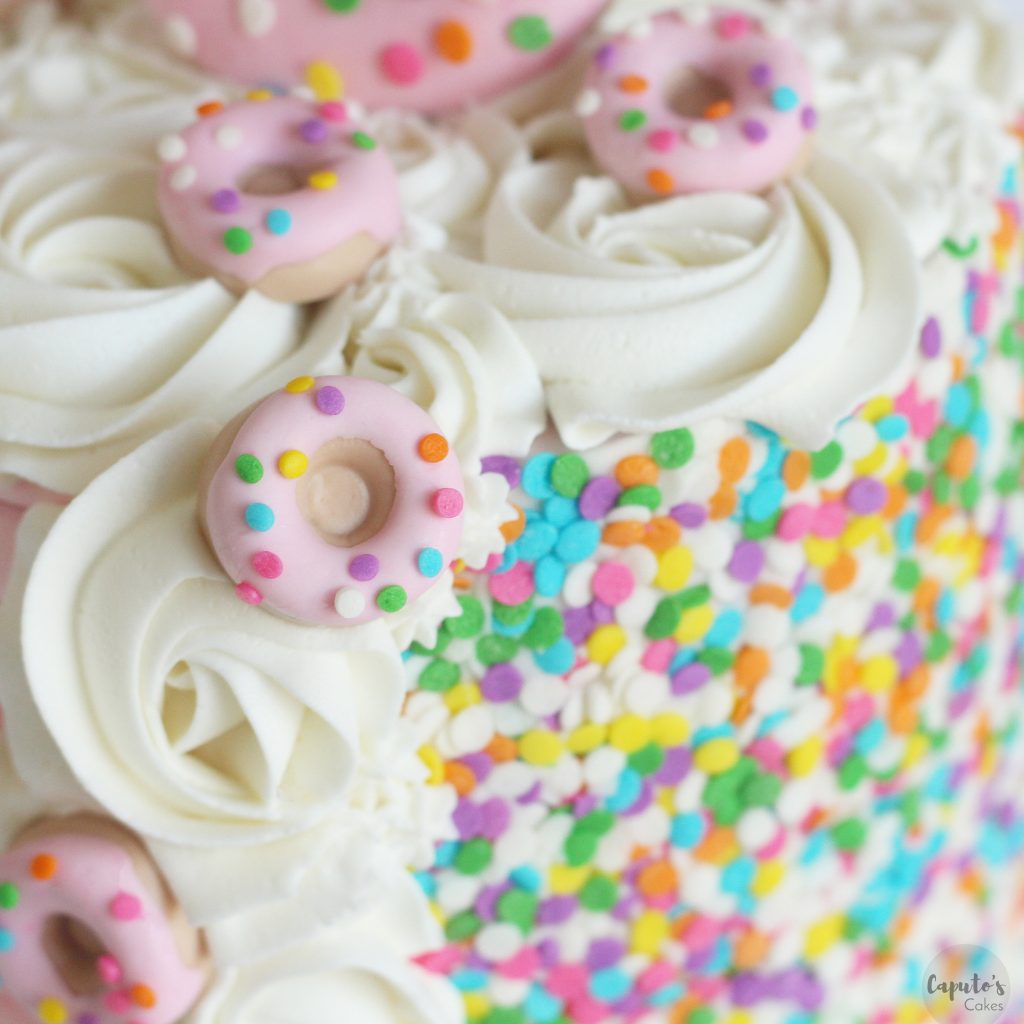
Step 7: Apply the sprinkles to the donuts. I use my own edible glue to do this. But you can also use a tiny bit of water and a paintbrush to adhere the sprinkles to the donuts. Allow the donuts to dry again, allowing the sprinkles enough time to adhere to the donuts.
Click HERE for more details about using fondant.
