Have you heard of a hot chocolate bomb? They are becoming quite popular, especially around winter and the holidays.
Hot chocolate bombs are chocolate balls filled with hot chocolate mix (and sometimes some other fun goodies like mini marshmallows or sprinkles). You place the chocolate bomb into a large mug, pour hot milk over the top, stir, and watch the bomb open up and release the hot chocolate mix.
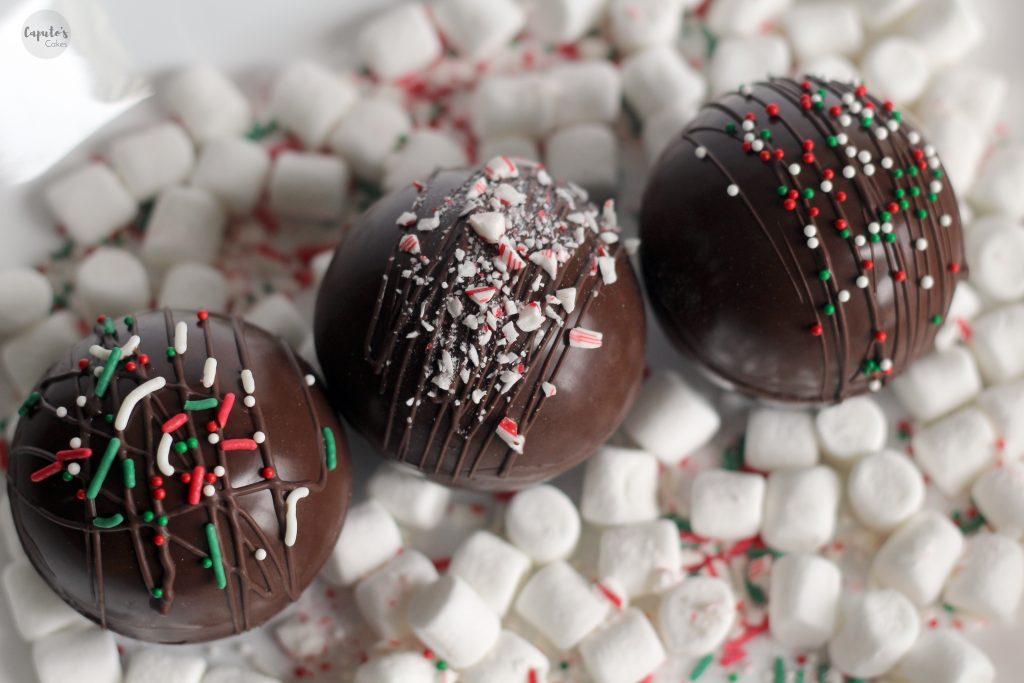
My kids absolutely love hot chocolate bombs. They requested that I make some for their teachers as gifts this year, and my oldest son told me that they were the best things I’ve ever made… and I’ve made a lot of cool things.
These hot chocolate bombs make perfect gifts for stockings, teachers, neighbors or family and friends. Continue reading below to learn how to make your own hot chocolate bombs.
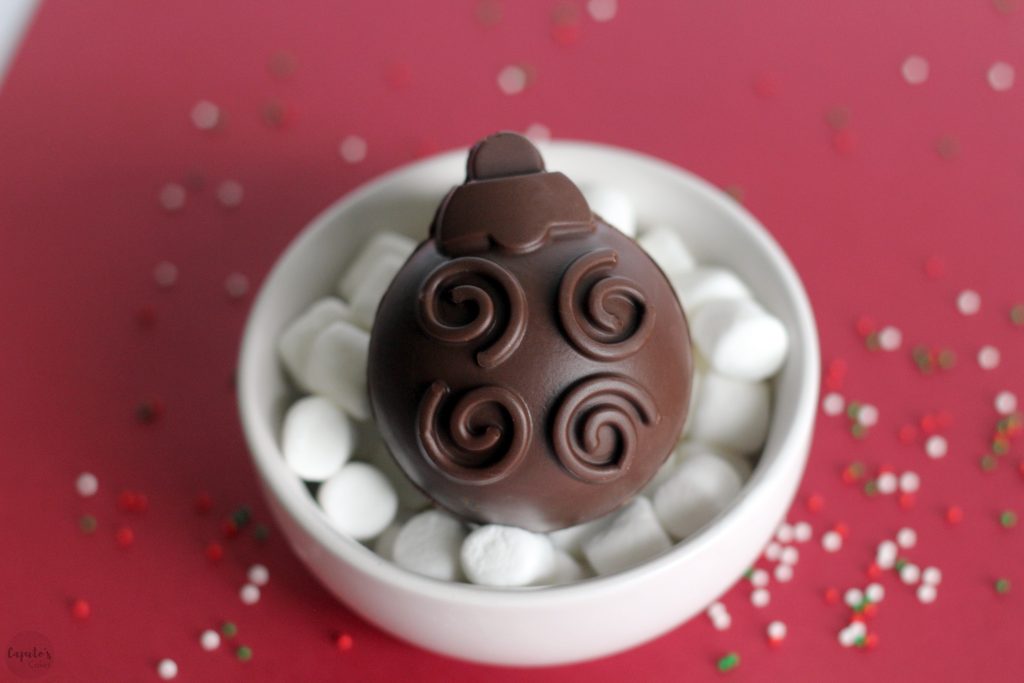
Making Hot Chocolate Bombs
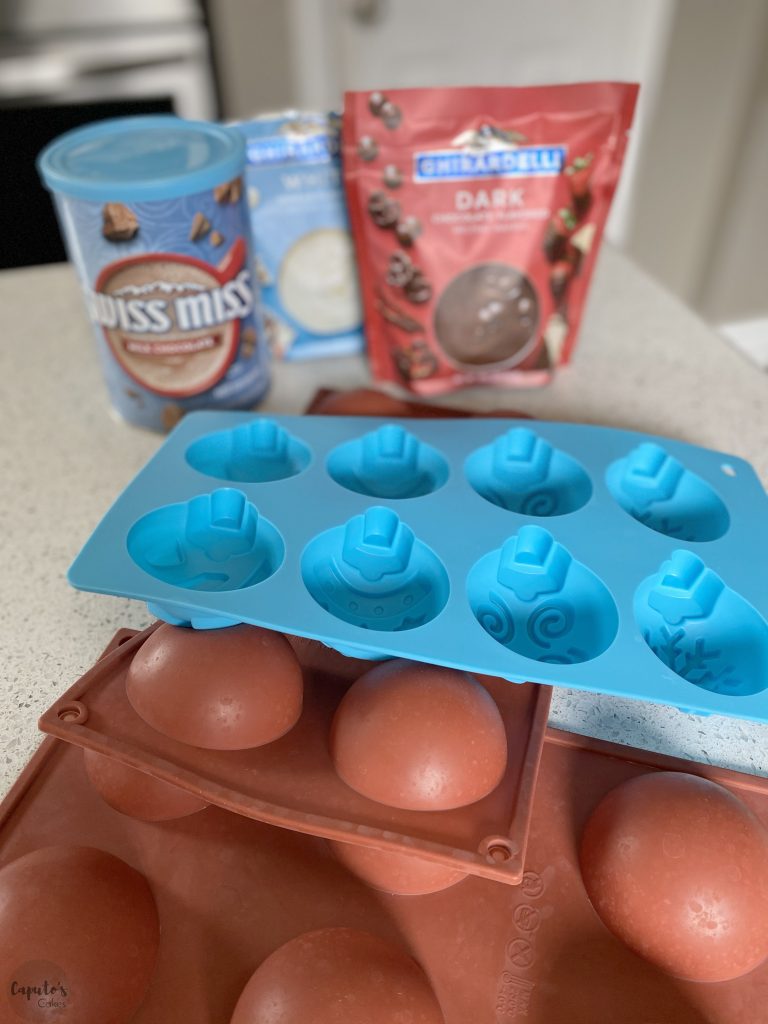
What you need:
- Round silicone mold (I bought 2 1/2 inch size) or this one
- Chocolate, I like this kind
- Hot chocolate mix
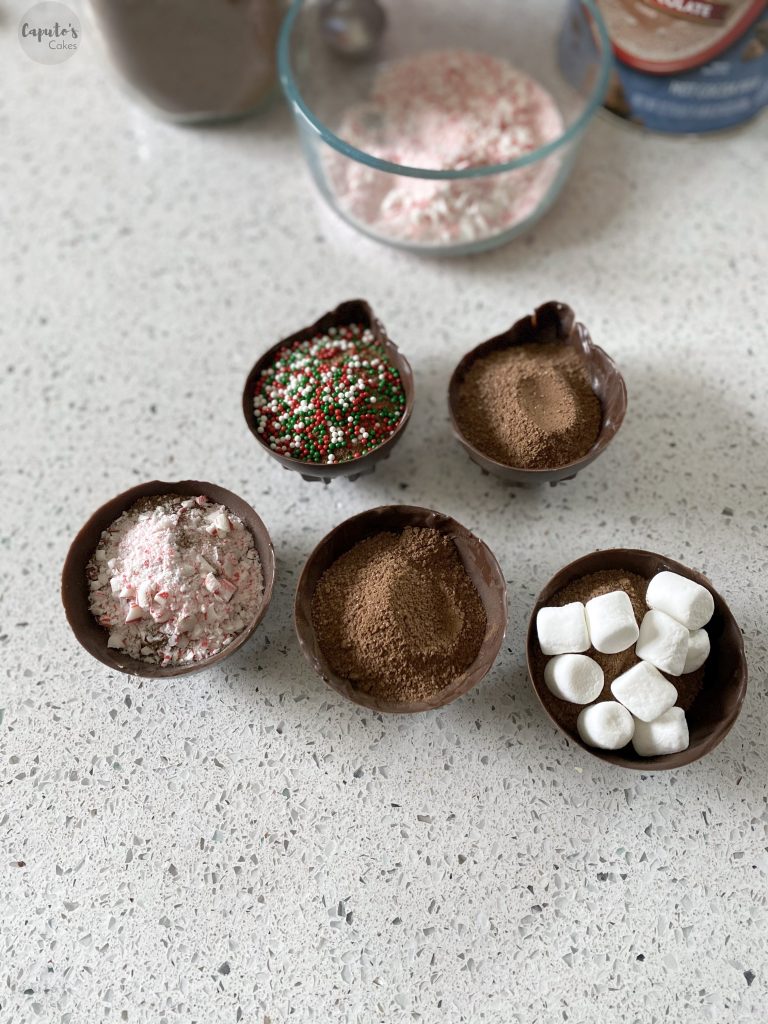
- Additional mix-ins: crushed peppermint, mini marshmallows, sprinkles etc.
- Spoon or bakers paintbrush
- Optional: Cupcake wrappers, these are my favorite
How to make a hot chocolate bomb:
- Using the melting instructions on your chocolate, begin by melting the chocolate in a microwave safe bowl.
- Pour a small amount of chocolate into each round silicone mold. 2 round molds equal 1 bomb.
- Working quickly, using the back of a spoon, coat the entire mold with chocolate making sure there are no gaps.
- Pop the silicone mold into the fridge for 5-10 minutes to allow the chocolate to harden.
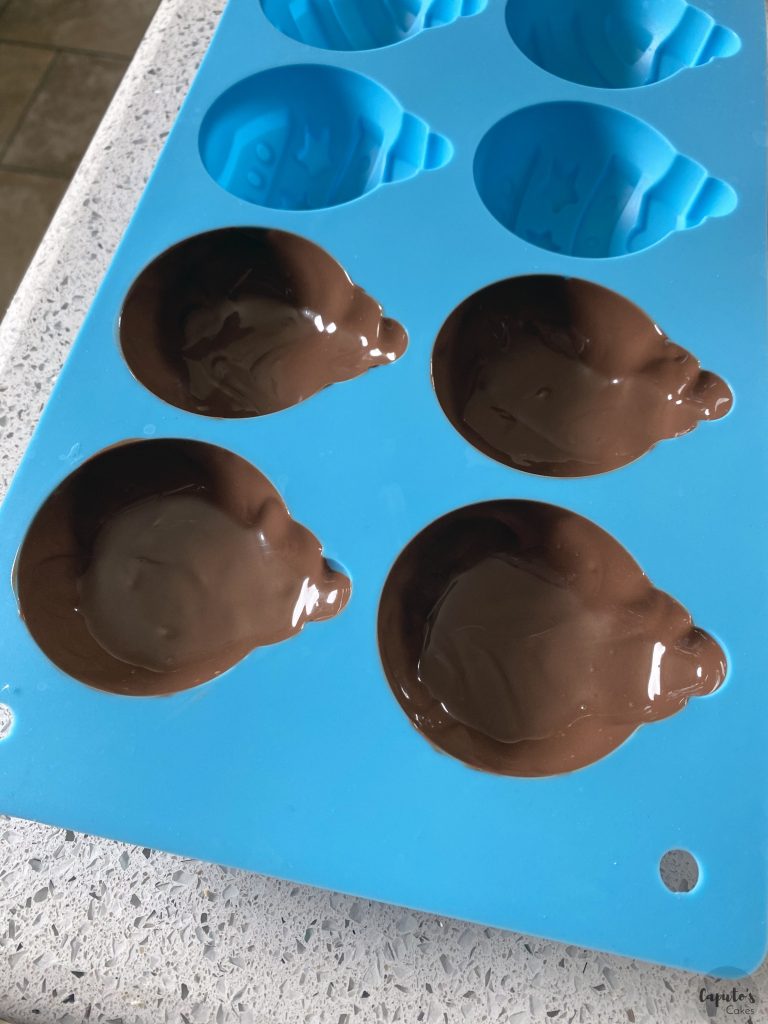
- Once the chocolate has hardened, go back and re-coat the sides of the silicone cavities. Pay extra care to the top and sides and double check there are no bare gaps.
- Place the mold into the fridge for another 5-10 minutes.
- Once the chocolate has hardened, you can gently remove the chocolate rounds from the silicone mold. Start by loosening the silicone from the top of the rounds, and work your way to the bottom. The chocolate should easily come out.
Filling the hot chocolate bomb:
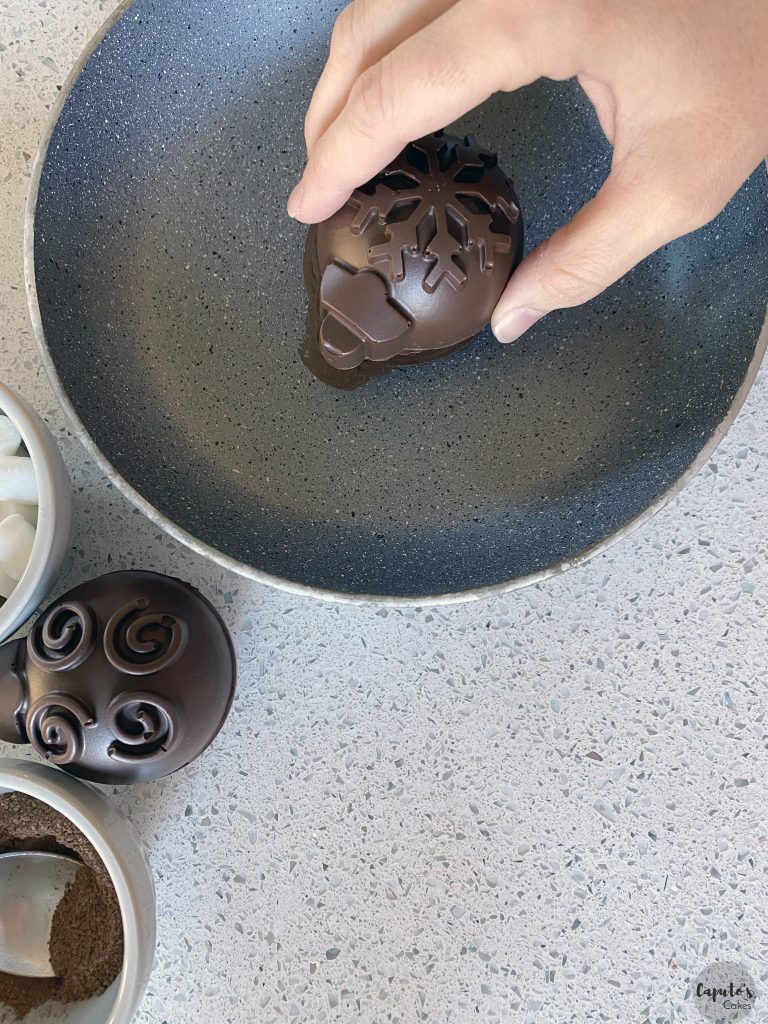
- Take a small saucepan, and heat it on the stove over very low heat. You will want to leave this warming so that you can melt the tops of the chocolate rounds. Once the chocolate is melted it will act as a “glue” and allow you to stick the top and bottom rounds to each other to create a circle.
- Take a chocolate round (this will be the bottom half), and flip it upside down so the top edges are facing downward. Place this on the saucepan for a few seconds so the top edges begin to melt.
- Flip the chocolate over, and add your hot chocolate mix and any extra fillings. My hot chocolate mix said to add 2 Tablespoons. Set aside.
- Taking an empty chocolate round (this will be the top half), flip upside down and melt the top edge on the saucepan for a few seconds. Working quickly, add this newly melted round to the top of the previously filled hot chocolate round. The edges should meet together nicely, and the bit of melted chocolate should act as a “glue” to hold the circle bomb together. This should also keep the hot chocolate mix and contents of the bomb inside without any spilling out.
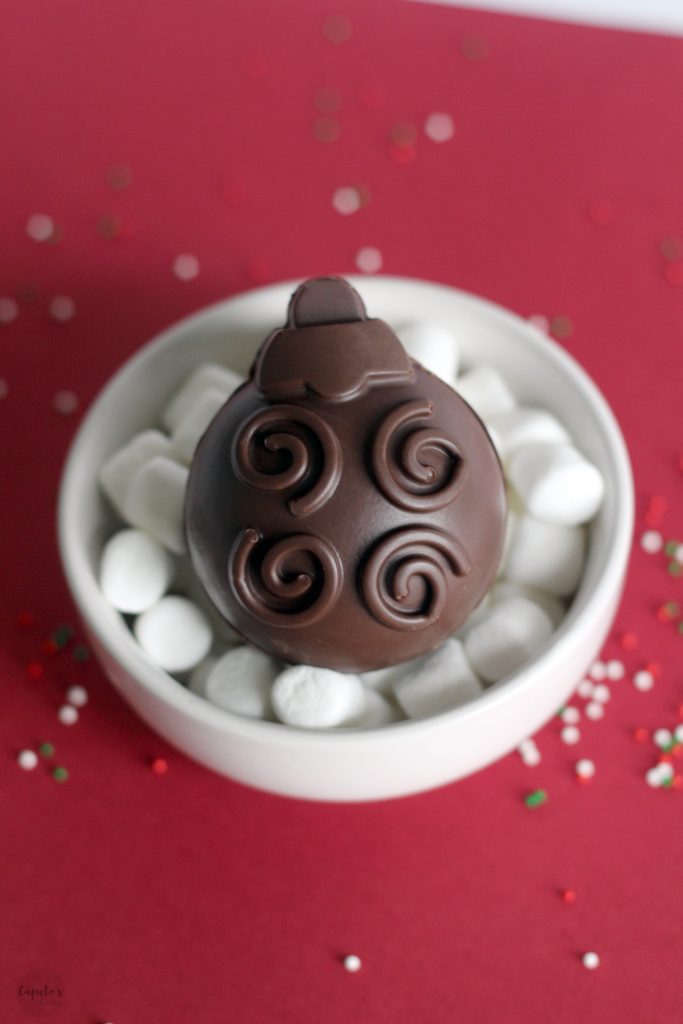
Place hot chocolate bomb into a cupcake wrapper. The bombs can be stored in a cool, dry place for up to 3 weeks.
If packaging these, I would recommend placing them in cupcake liners and a cupcake container, or individually wrapped in small cellophane treat bags.
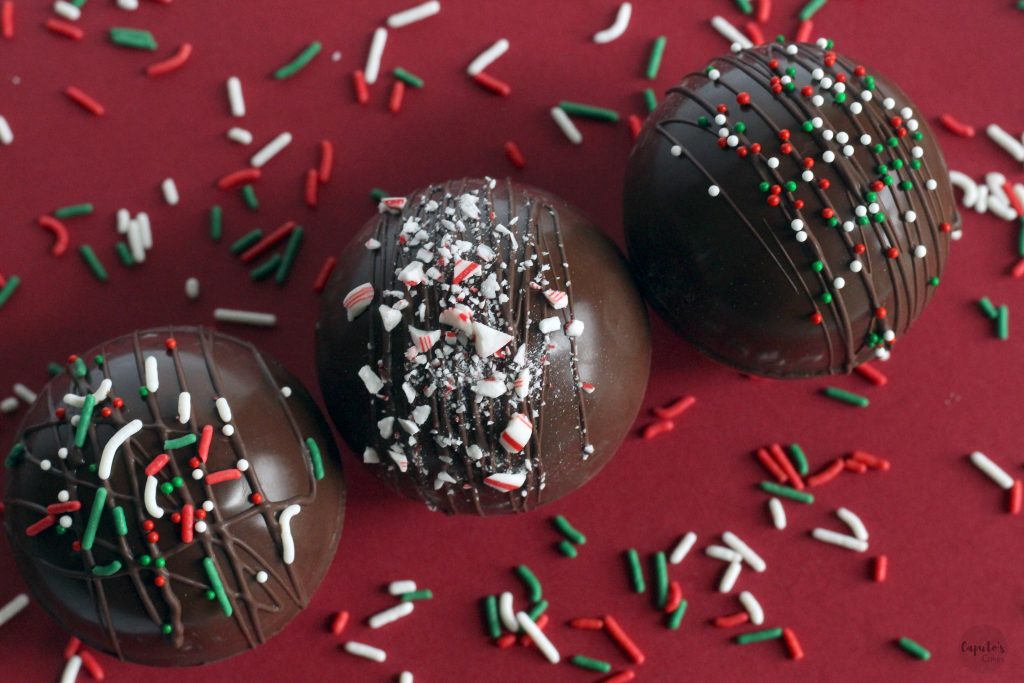
Free Hot Chocolate Bomb Instruction Printable
Christmas theme:
Normal theme:
This post may include affiliate links, for more information, click HERE
