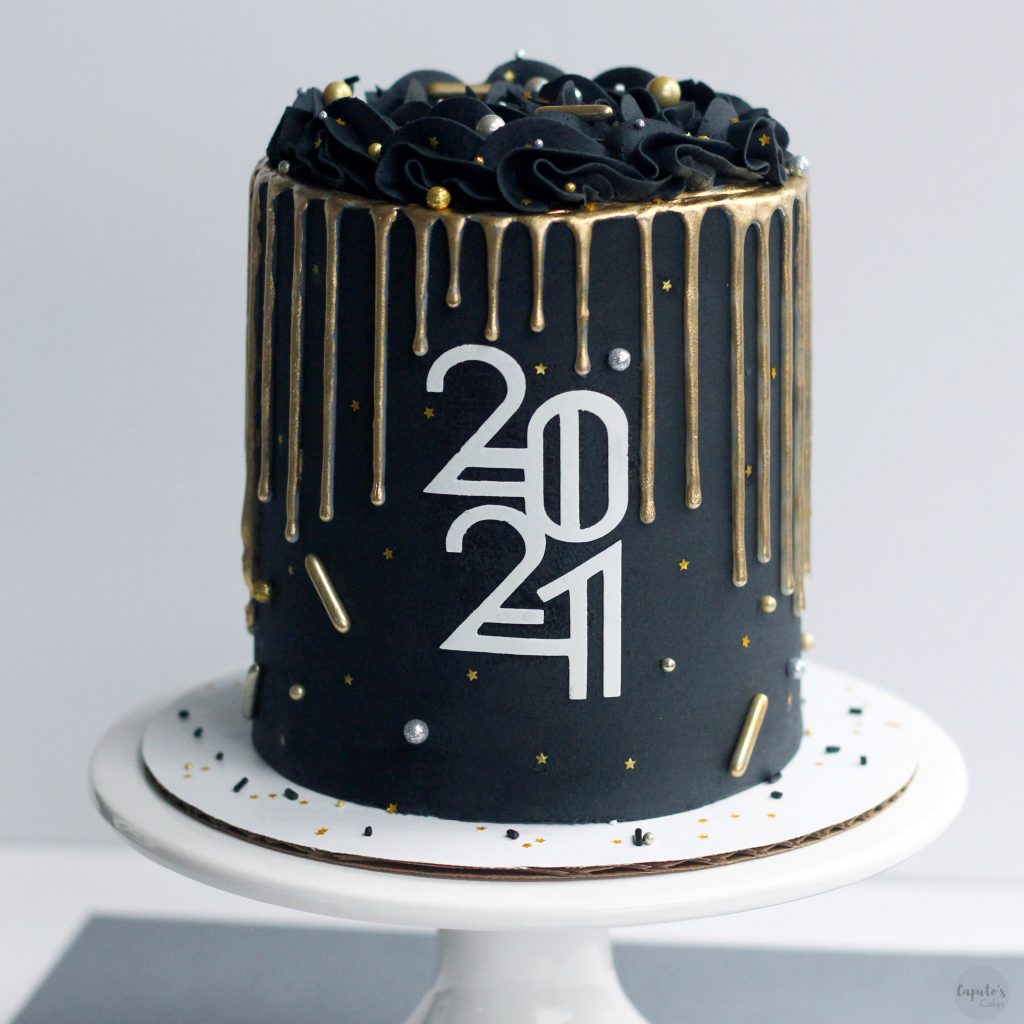
It’s no surprise that I love to make drip cakes. Recently I made my first gold drip cake and now I’m hooked. Making a gold drip is definitely a labor of love, it can be challenging, and having the right drip consistency is key. However, I believe anyone can do it, and making a stunning gold drip will definitely take your cake to the next level.
Starting off, lets talk a little bit about your ganache. There are a few other methods to making a gold drip, but I love the look of my white ganache drip, and I like to have control over how long or thick my drips will be, so that’s why I prefer the ganache method.
If you are just starting out with drips, you will want to start with reading my post on white ganache/ colored drips (HERE), and also my post on chocolate ganache drips (HERE). In these two blog posts, I take a deep dive into explaining how to create the perfect drip and since the white ganache drip will be the base for your gold, make sure to read up on those tutorials if needed.
I also want to note that I only use drips on a cake covered in American buttercream (my recipe HERE).
So… Lets get started with the tutorial, shall we?
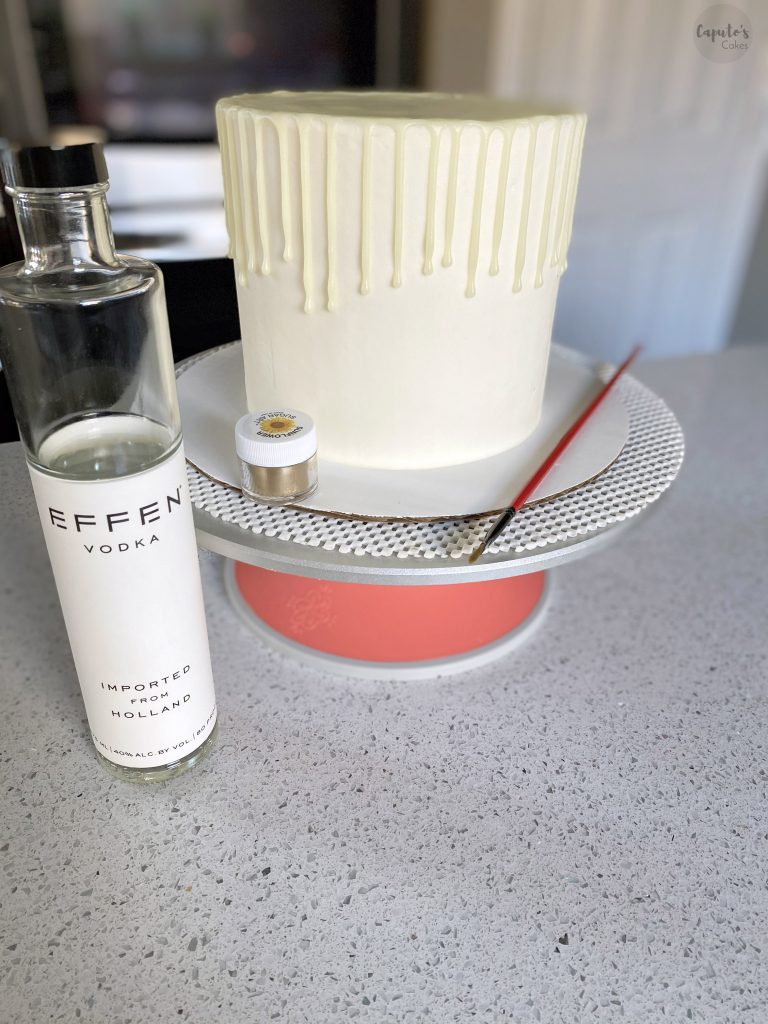
Supplies:
- Cake covered with American buttercream
- White chocolate ganache (room temp)
- Gold Luster dust
- Vodka
- Small bowl
- Small bakers paint brush
How to make a gold drip:
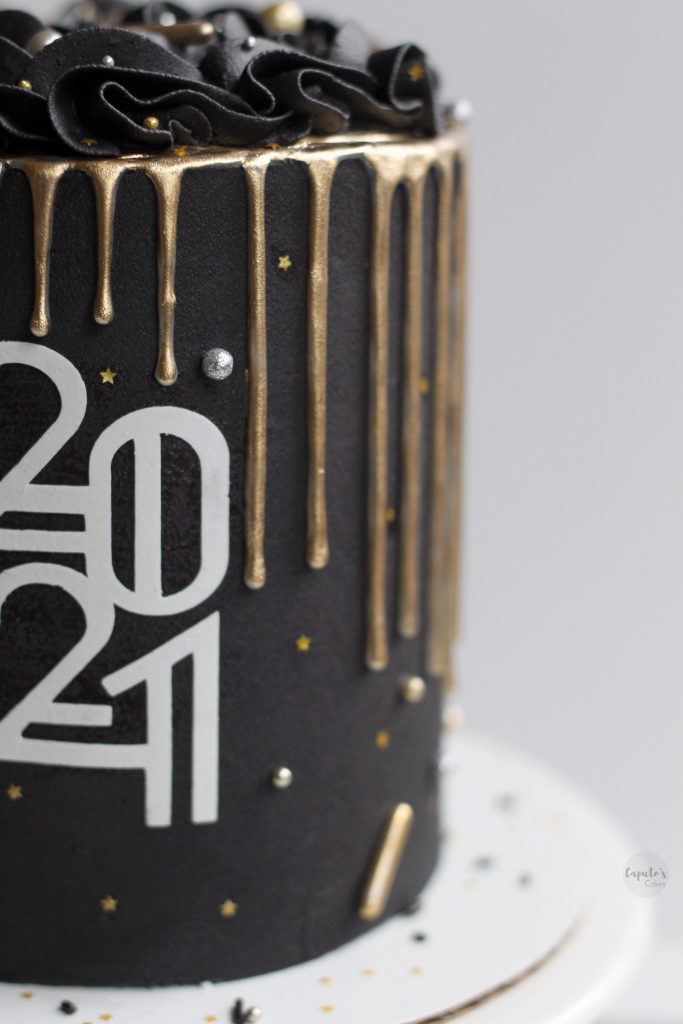
Starting with a chilled cake, take your room temperature ganache, and add one drip to the very top edge of your cake (using either a drip bottle, spoon or piping bag). I use this single drip as a test, so I like to do this on the “back side”. I wait a moment to see If the drip is the length I prefer, and if it is, I will continue adding more drips to the top edge of my cake.
Once your drips are finished, you can complete the top, by adding a layer of ganache to the top of the cake. After adding the drip, pop the cake back in the fridge. I do this step in the evening, and allow my cake to sit in the fridge overnight. You will want enough time to allow the ganache to firm up, I found that it takes around 8hours.
Once your white ganache is firm you can begin painting. Add a tiny bit of gold luster dust to a small shallow bowl. Being careful not to pour too much, add a very small amount (like a few drops) of vodka to the bowl. Stir the gold mixture until it is no longer lumpy and looks smooth. The consistency should resemble paint, it shouldn’t be very thin or watery, if it looks to watery, you can add a little bit more luster dust. Note: The vodka will begin to evaporate, so you will have to add more as time goes by, just keep adding gold/vodka to keep the right consistency.
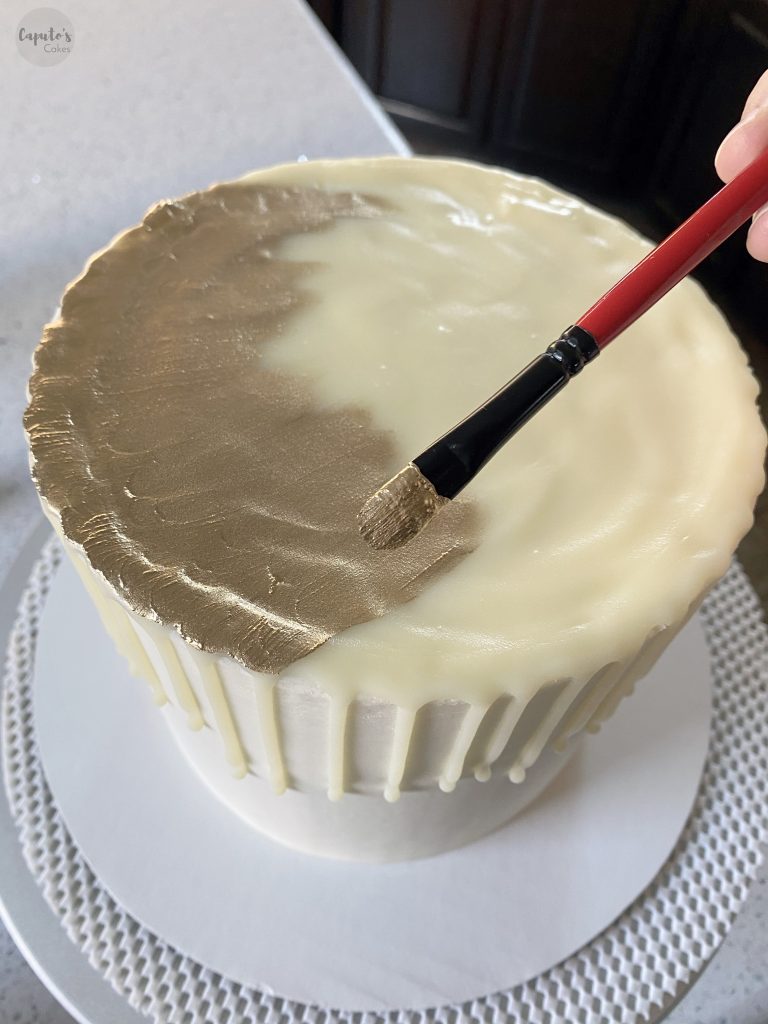
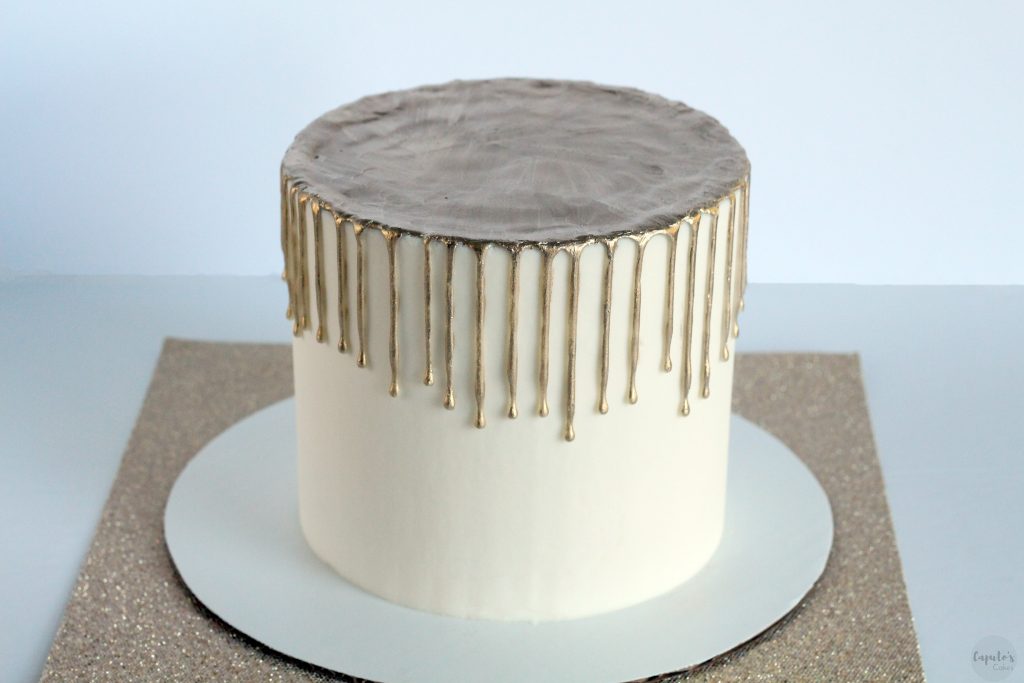
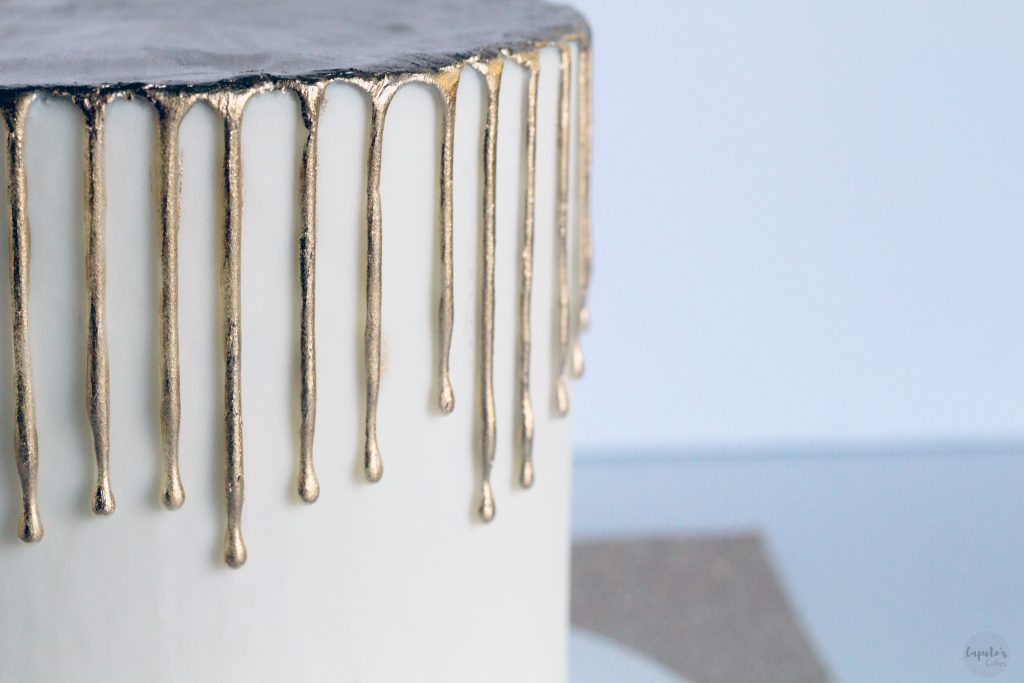
Once your edible gold paint is mixed, you can begin painting on your drips. Taking a small bakers paintbrush and being very careful, start painting each drip, ledge and top of the cake. I like to start with my ledges to be sure that my paint constancy is correct and isn’t too watery. I start with one coat, and completely cover the white ganache on my cake. Once finished, pop the cake back in the fridge for about 30 minutes so that it stays chilled.
If your drips look covered and even, you can stop here. I usually add a second coat to my ganache for a completely finished look. When painting a second coat, just be sure that the first coat is dry.
This post may include affiliate links, for more information, click HERE