
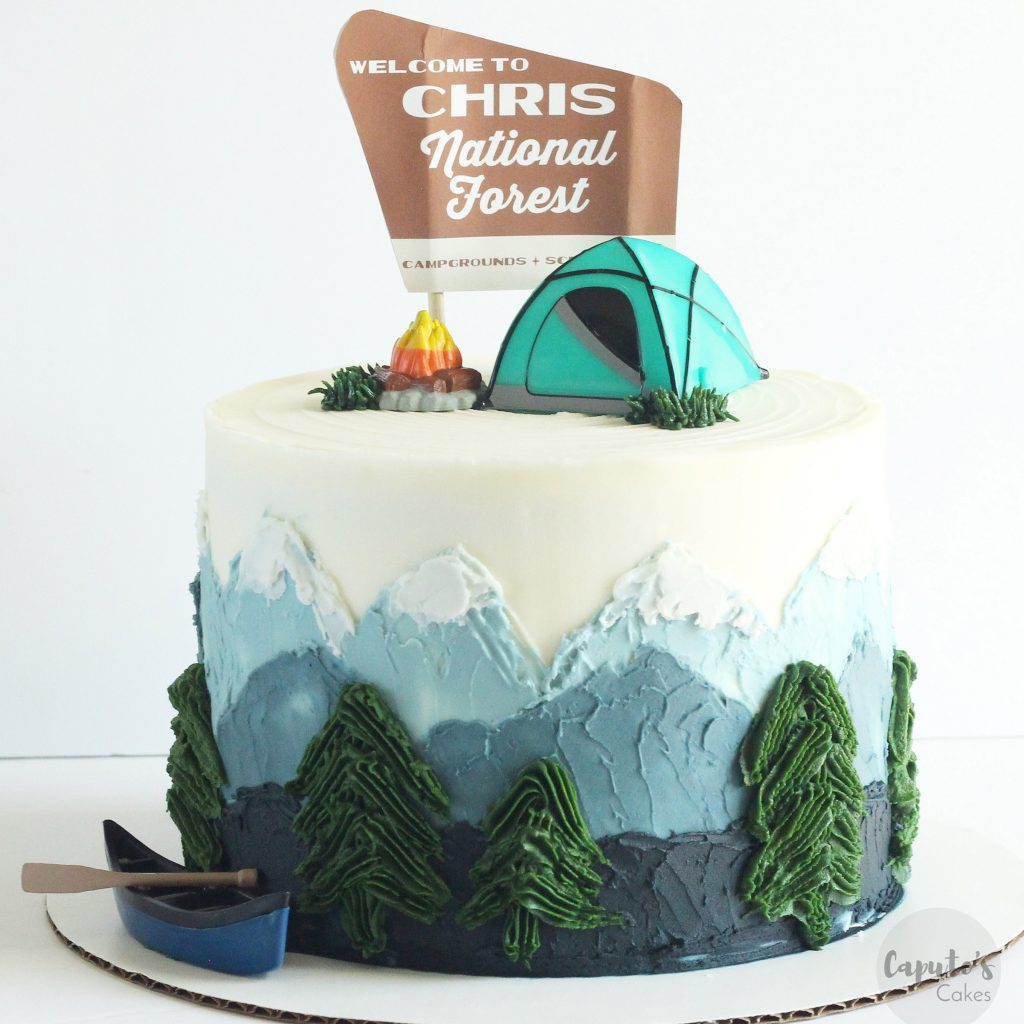
Today on the blog, I’m talking about how to paint with buttercream. Have you heard of a buttercream painted cake? It’s a newer trend, one that started popping up about a year or so ago. What is a painted buttercream cake? A painted cake is made with buttercream and palette knives (the same kind oil painters use).
I consider it to be more of an advanced decorating technique, but I believe anyone can do it! I’ve tried it a few different times and have found it to be very therapeutic for me, and I love that I can push myself creatively with having no prior painting knowledge. Today, I want to walk you through how to make a mountain scene cake. I’ll write down the steps and post a lime-lapse video, which may help you follow along.
Supply List:
- Buttercream cake (recipe HERE) scraped smooth and chilled
- Palette knives, click HERE for the ones I use
- Small bowls filled with your icing already colored, for this cake I used: dark blue, medium blue and light blue. I combined yellow and green together to get the right hue, and added a tiny bit of black coloring. I used 3 different bowls with ½-1 Cup buttercream in each one.
- Turntable
- Wilton tip 1M with piping bag, filled with the color green
- Tent Cake Topper
How to: Paint with Buttercream
Step 1: Taking your chilled and smoothed buttercream covered cake, use a toothpick or the end of your palette knife to lightly sketch your drawing on to the cake. For this cake, I sketched the tallest mountains first because they would become the back layer of the mountain scene. Sketching out my mountains helped me stay on track so I could use this to follow along while I painted.
To start painting with buttercream, I first dipped my pallet knife into my light blue buttercream and started painting the edges of my mountain. After the edge was finished, I went back and filled in the mountain with the rest of the light blue buttercream using the tip and back of the pallet knife with every stroke.
No need to chill your cake between steps, however, if you need to walk away from your cake for a bit, this is good time to place it in the fridge if needed.
Step 2: Using a toothpick or pallet knife, sketch another layer of smaller mountains just under the light blue painted ones.
Dip your pallet knife into the medium blue color and begin painting the outter edge of the smaller mountains. Use your pallet knife to fill in the middle of the mountains once the edges are finished.
Don’t be afraid to play around with what feels most comfortable for you while holding the knife or how you apply the buttercream. Everyone paints a little differently, and its the same with buttercream painting too. Again, you don’t have to chill the cake after adding your middle mountain layer, however you definitely can if you need to step away.
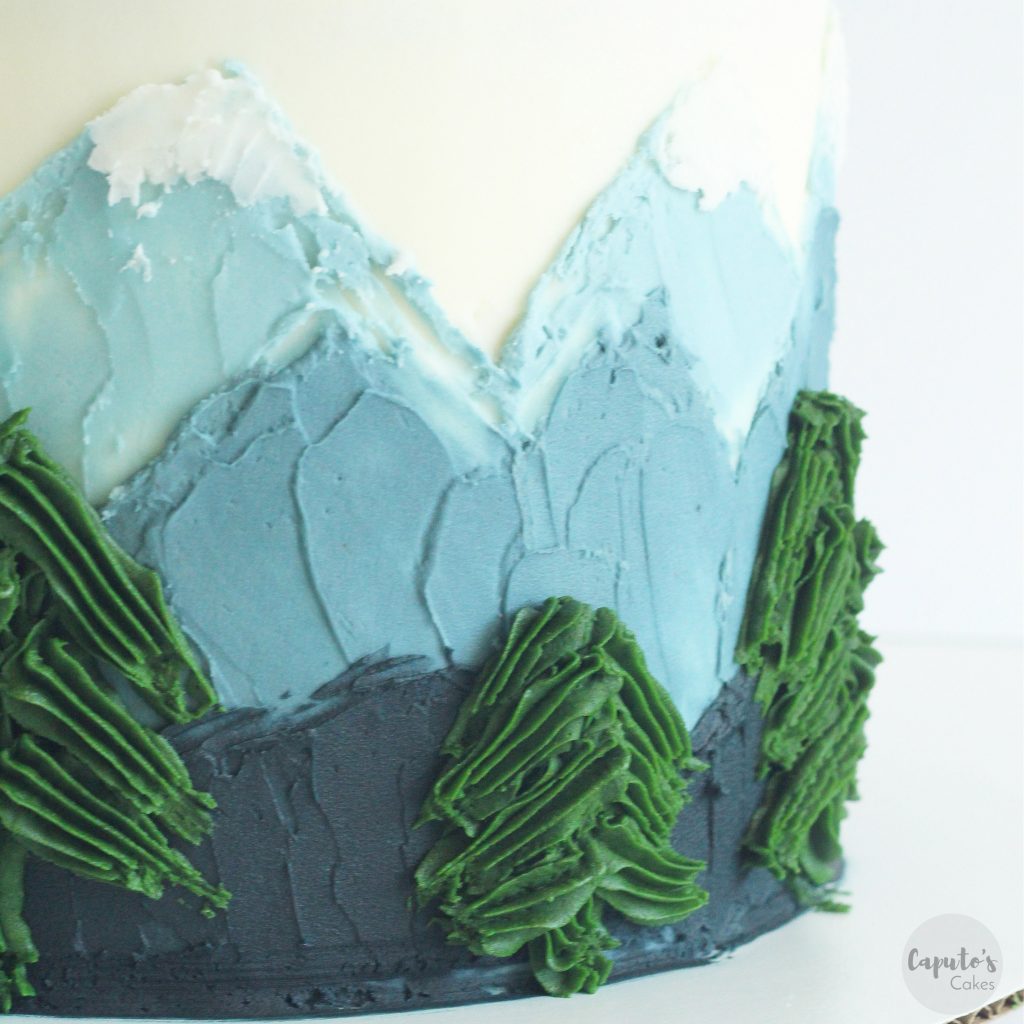
Step 3: Using your darkest buttercream color, paint the smallest hills on the cake. I used these hills as a filler between the bottom of my cake and my mountain scene. I made the hills a little wavy so they didn’t look like the tall mountains in the background. I used the pallet knife to create a painted effect while filling in this area by making longer strokes with the buttercream.
Step 4: Take a step back to look at your painted scene. Go back around the cake using the pallet knife to smooth out any areas or filling in spots that might need more color. Some of the previous painted areas may begin to crust over, which is completely normal when using buttercream. I added my snow capped mountains at this time using a tiny bit of white buttercream.

Step 5: Chill the cake for about 30 minutes to allow the buttercream to completely crust over. After chilling my cake, I took my wilton 1M piping tip and bag filled with dark green buttercream, and piped trees on to the cake base. I first piped a straight line, and then added small “branches” coming off the side at an angle to get the effect I wanted.
As always, I love seeing your creations, so please be sure to tag me on IG @caputoscakes so I can see your beautiful painted cakes!
Painting With Buttercream: Time-Lapse Video
Click HERE for more of my cake decorating tips and recipes.