Today I’m sharing how to stack and layer a cake. When I started making cakes, using more than 2 cake layers made me so nervous. I didn’t know if the layers would just slide off or if they would make my cake uneven. Would the top layers be too heavy and cause the cake to fall? Those were all questions I had when I first started decorating cakes. I had tried a few different stacking techniques until I found what worked best for me. Today, most of my cakes are all 3-4 layers. I rarely make a 2 layered cake, and only make a cake with just 1 layer if its a sheet cake. I love using different fillings, and making cakes different heights.
Today, I’m going to go over the ways to stack a cake with 3 layers. For this cake, I baked 3 6-inch cake layers. I used the same brand pan for each layer so the sides of the cake would match up evenly. I always use a straight edge pan, because it makes the best edges for an even outer layer of buttercream.
what you will need to make a 3 layer cake:
- 3 straight edge baking pans all in the same size, with 3 layers baked (I used 6inch pans)
- Knife or cake leveler
- Cake board, at least 2 inches bigger than your cake size
- Buttercream (recipe HERE)
- Offset spatula
- Piping bag (I like to use this so my buttercream is evenly piped, but this is totally optional)
How To: Stack and layer a cake with Pictures
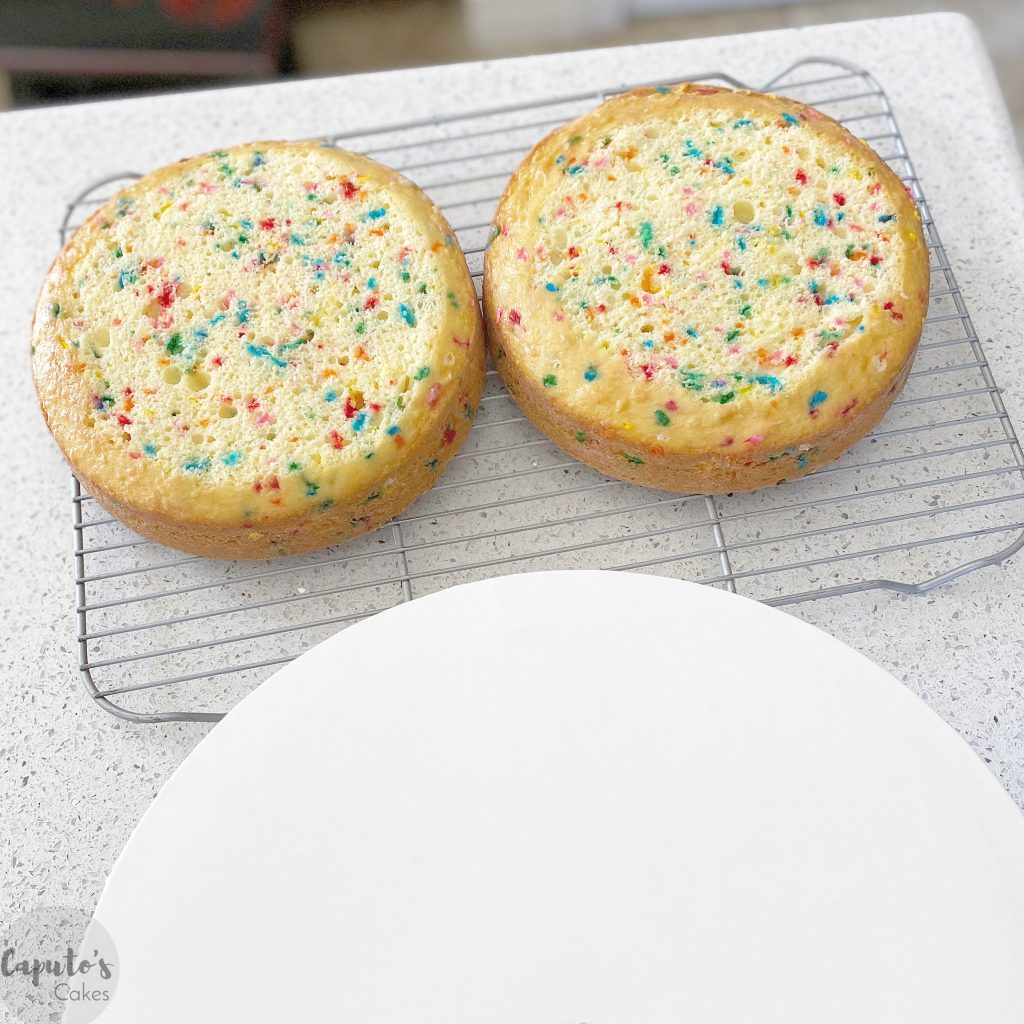
Step 1: Using your knife or cake leveler, cut the tops off your cooled cake layers if they were not evenly baked. Often cake tops will have a little roundness or dome on the top, which will be uneven to the sides of the cake. You will want to cut as straight as possible so the middle of the cake is evenly level to the sides of the cake.
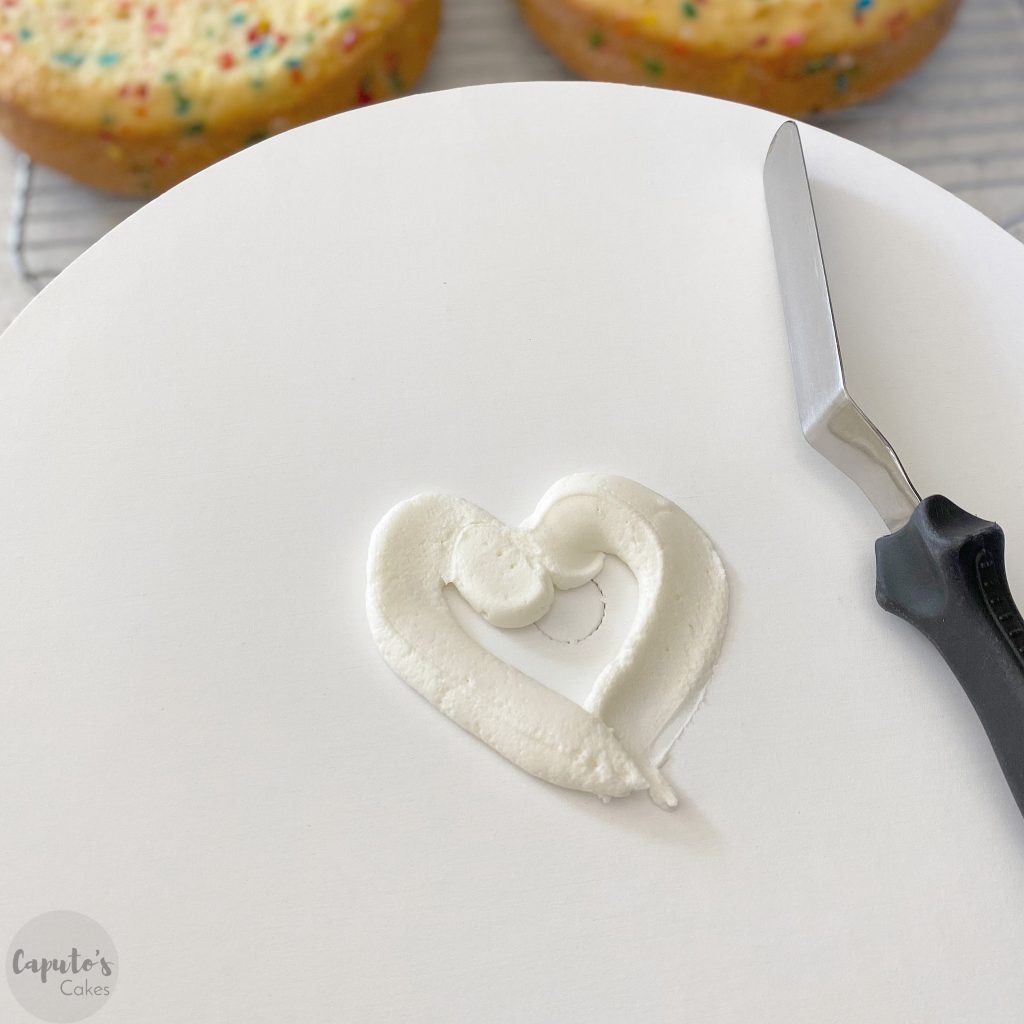
Step 2: Using your buttercream, pipe a small amount of icing on the top of your cake board. This is where your cake bottom will sit. The buttercream acts as a glue, and secures your cake in place so it doesn’t fall off the board. The cake board also gives you something to hold on to as you decorate your cake.
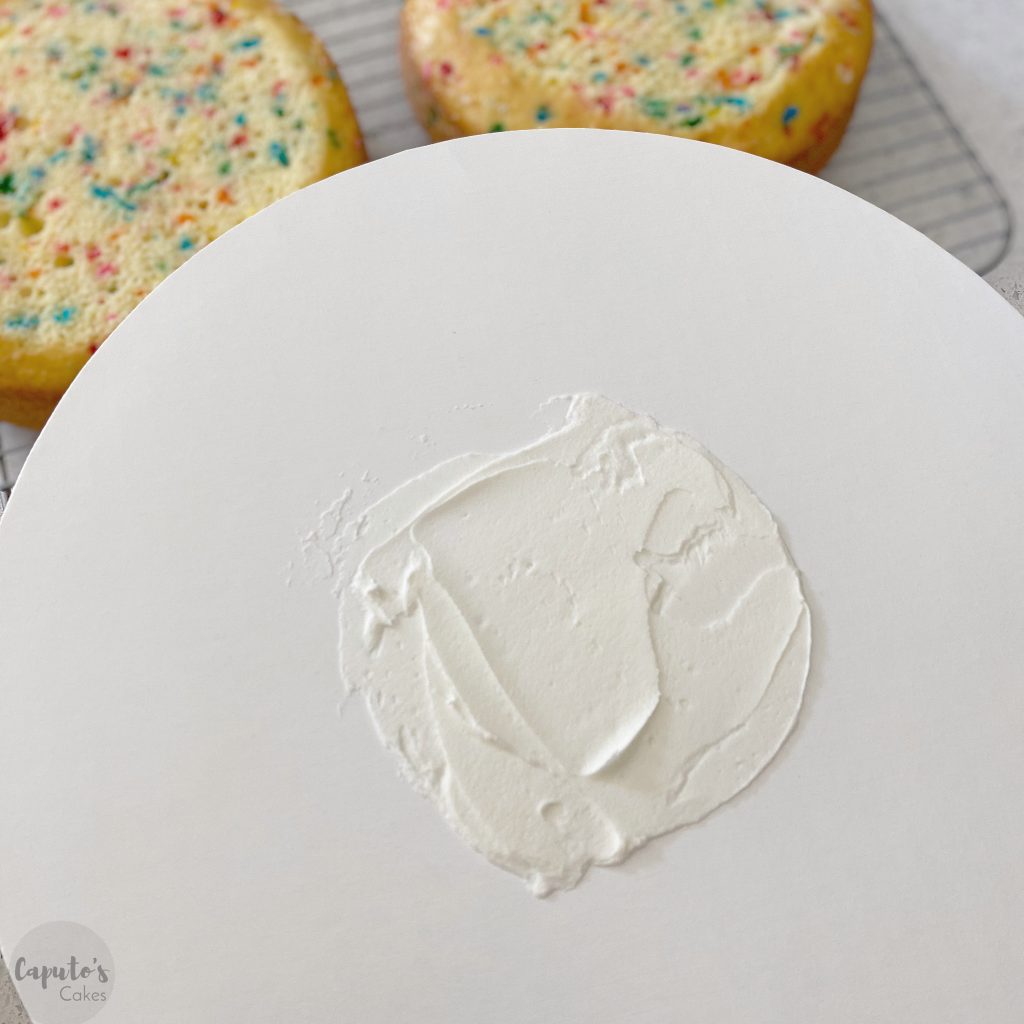
Using your offset spatula, smooth the buttercream out so it is an even layer. You don’t need a lot of buttercream, just enough to hide under the bottom of the cake layer.
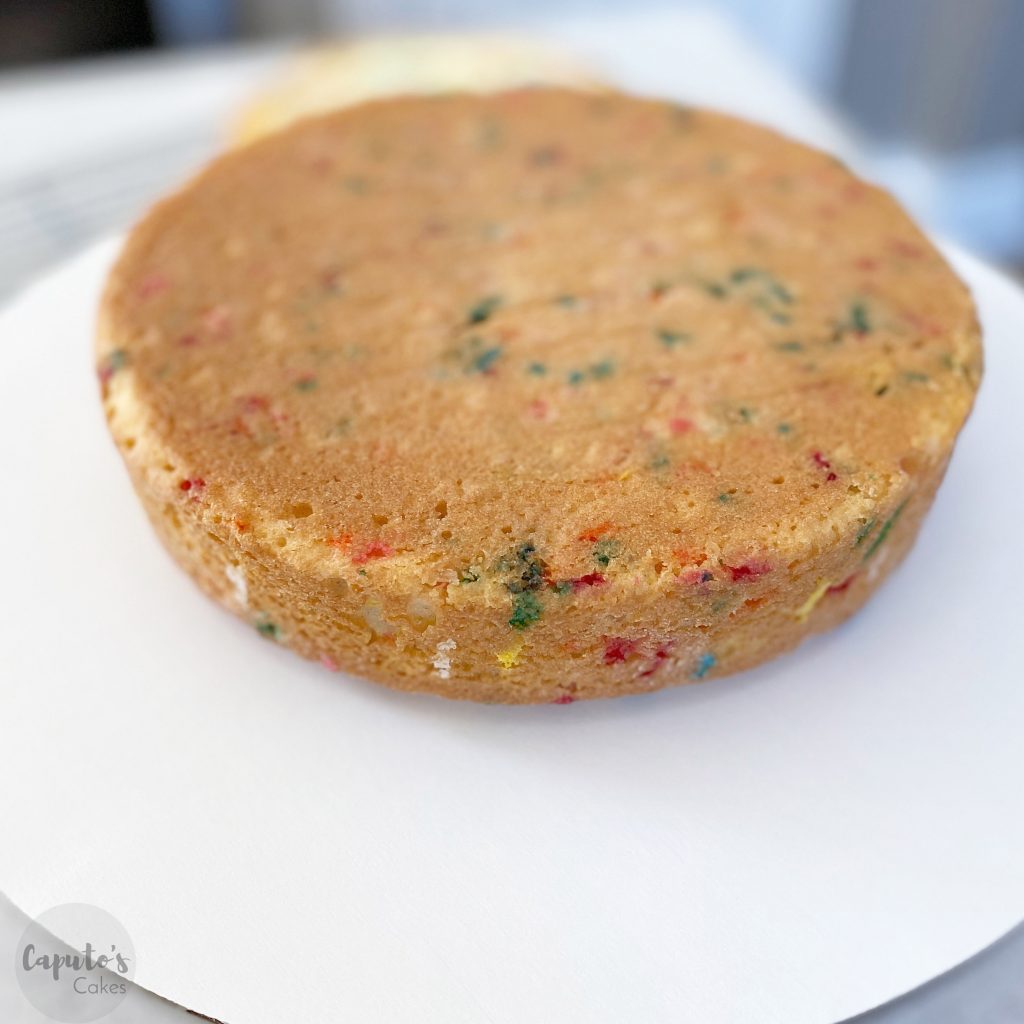
Step 3: Take your first cooled and leveled cake layer, and lay it in the middle of your cake board. This cake layer should cover the buttercream “glue” completely. I like to flip my cake layer upside down so that the top (where I leveled the cake) is sitting on the cake board with the buttercream “glue”. I feel like this gives me less cake crumbs when icing my cake.
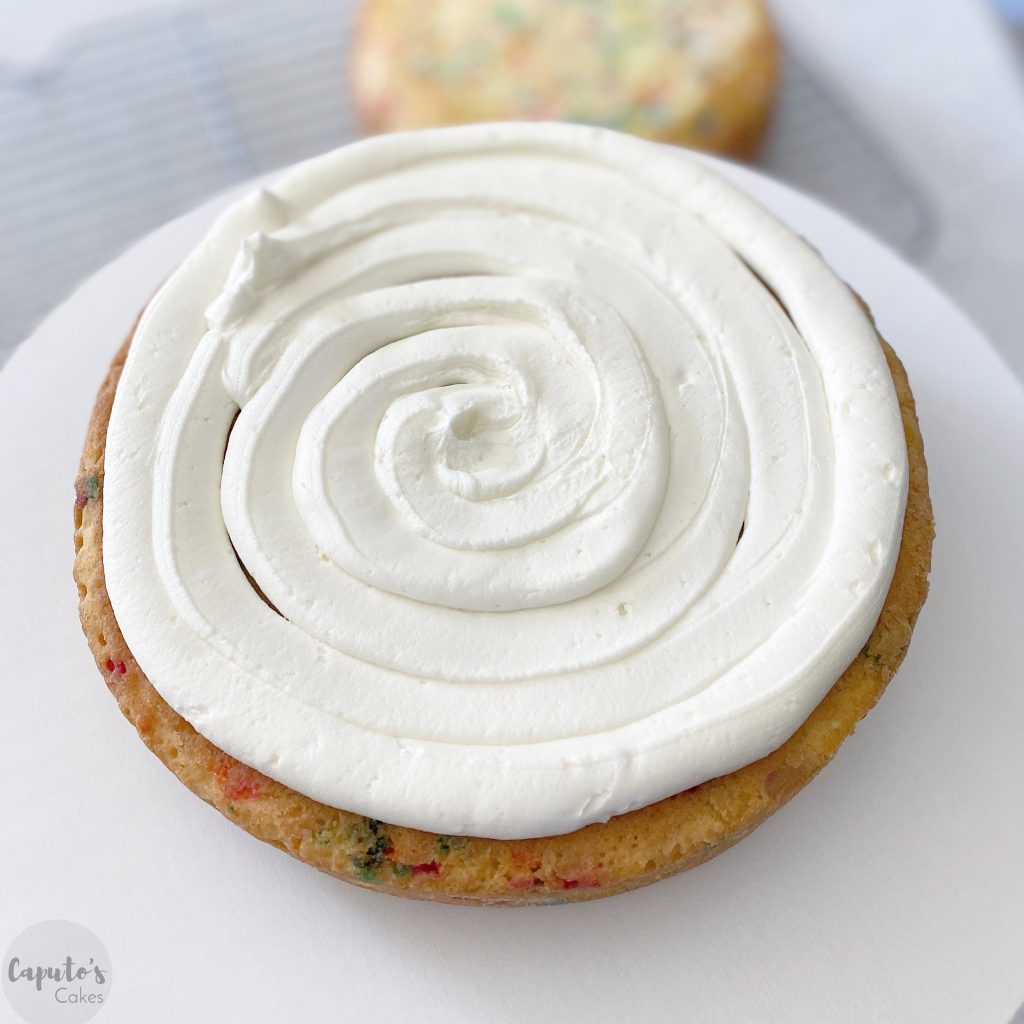
Step 4: Using your buttercream (either with your spatula or in a piping bag), pipe a complete circle around the top edge of the cake. Don’t go too far out, but just enough to almost touch the edge of the cake. Fill in your cake layer with buttercream, staying even with that outter circle you piped. This helps to keep the buttercream layer even without needing to level your cake too much.
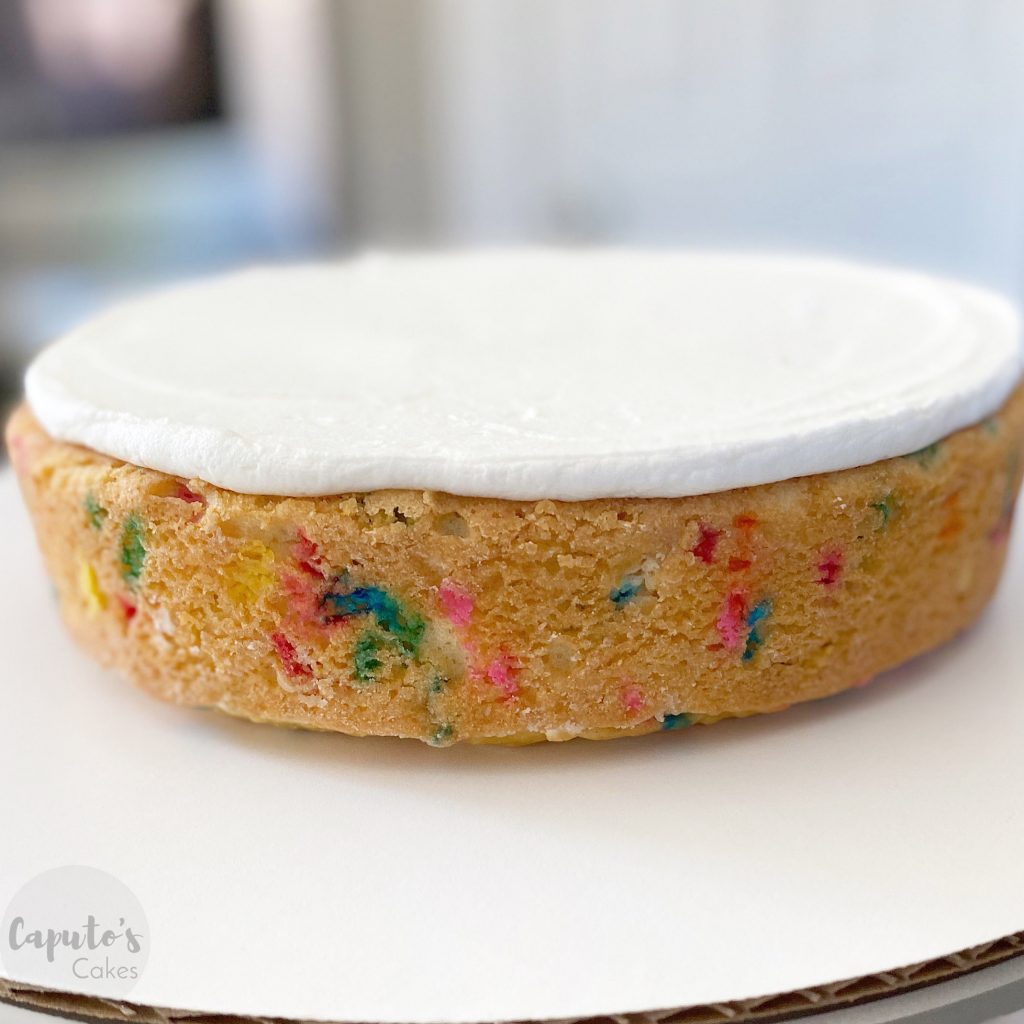
After the buttercream filling is piped, use the offset spatula to even out the layer. When you are done with your buttercream layer, look at your cake at eye level, so you can double check that your buttercream was applied evenly. If not, push your buttercream around with your spatula until your layer is completely even.
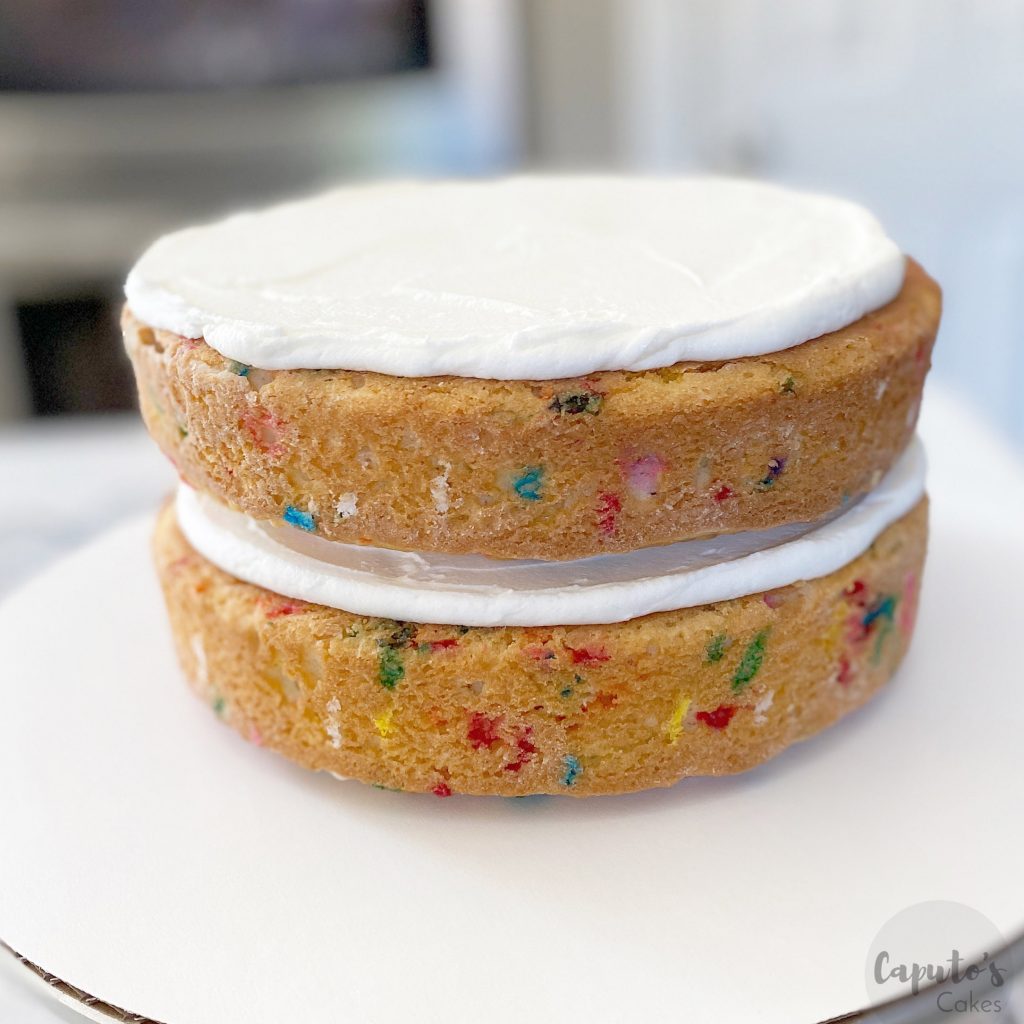
Step 5: Take your next cake layer, and lay it on top of your buttercream filling. Again, take a quick look at your cake at eye-level to make sure the cake layer is even and not leaning in any directions. If it is, go back to your buttercream layer and add more buttercream to the leaning side to help prop up the cake layer. Once you are confident that your cake layer is even, repeat step 4, adding another layer of buttercream.

Step 6: After adding your 2nd layer of buttercream filling, you will add your final cake layer, the third or top layer of the cake. Take your cake and again, lay it on top of your buttercream layer. Make sure to check that your cake is still level, and now you are ready to apply your crumb coat.
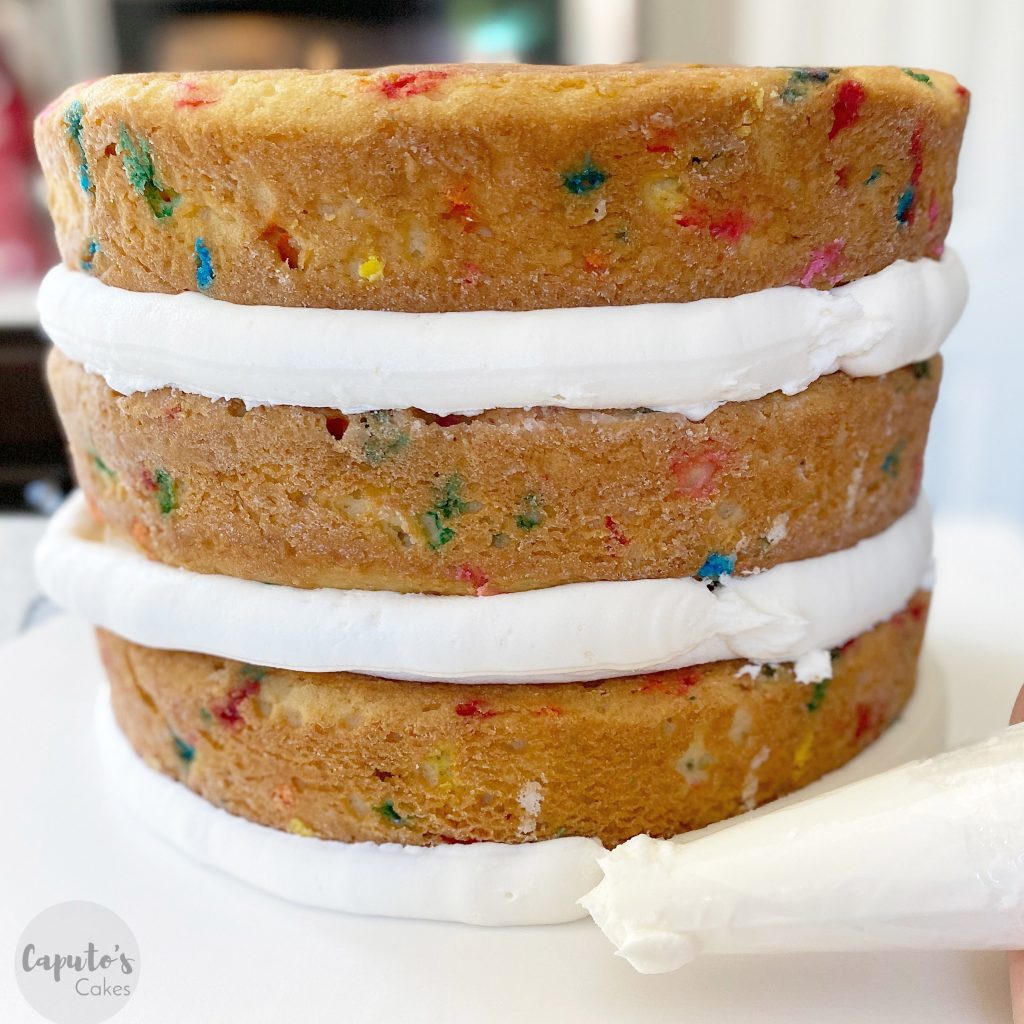
You can chill your cake at this time if you want to allow your buttercream to harden up a bit. I like to start my crumb coat right away, so I don’t chill my cake after stacking. I like to start crumb coating the layer of buttercream filling first where the filling didn’t quite hit the edge of my cake layers while stacking my cake. Add a nice thick layer of buttercream to the outside of the cake and then push the buttercream around the edges of the cake with the offset spatula. Be sure to check out my post HERE about how to apply a crumb coat to your cake, and why its important to do so!
